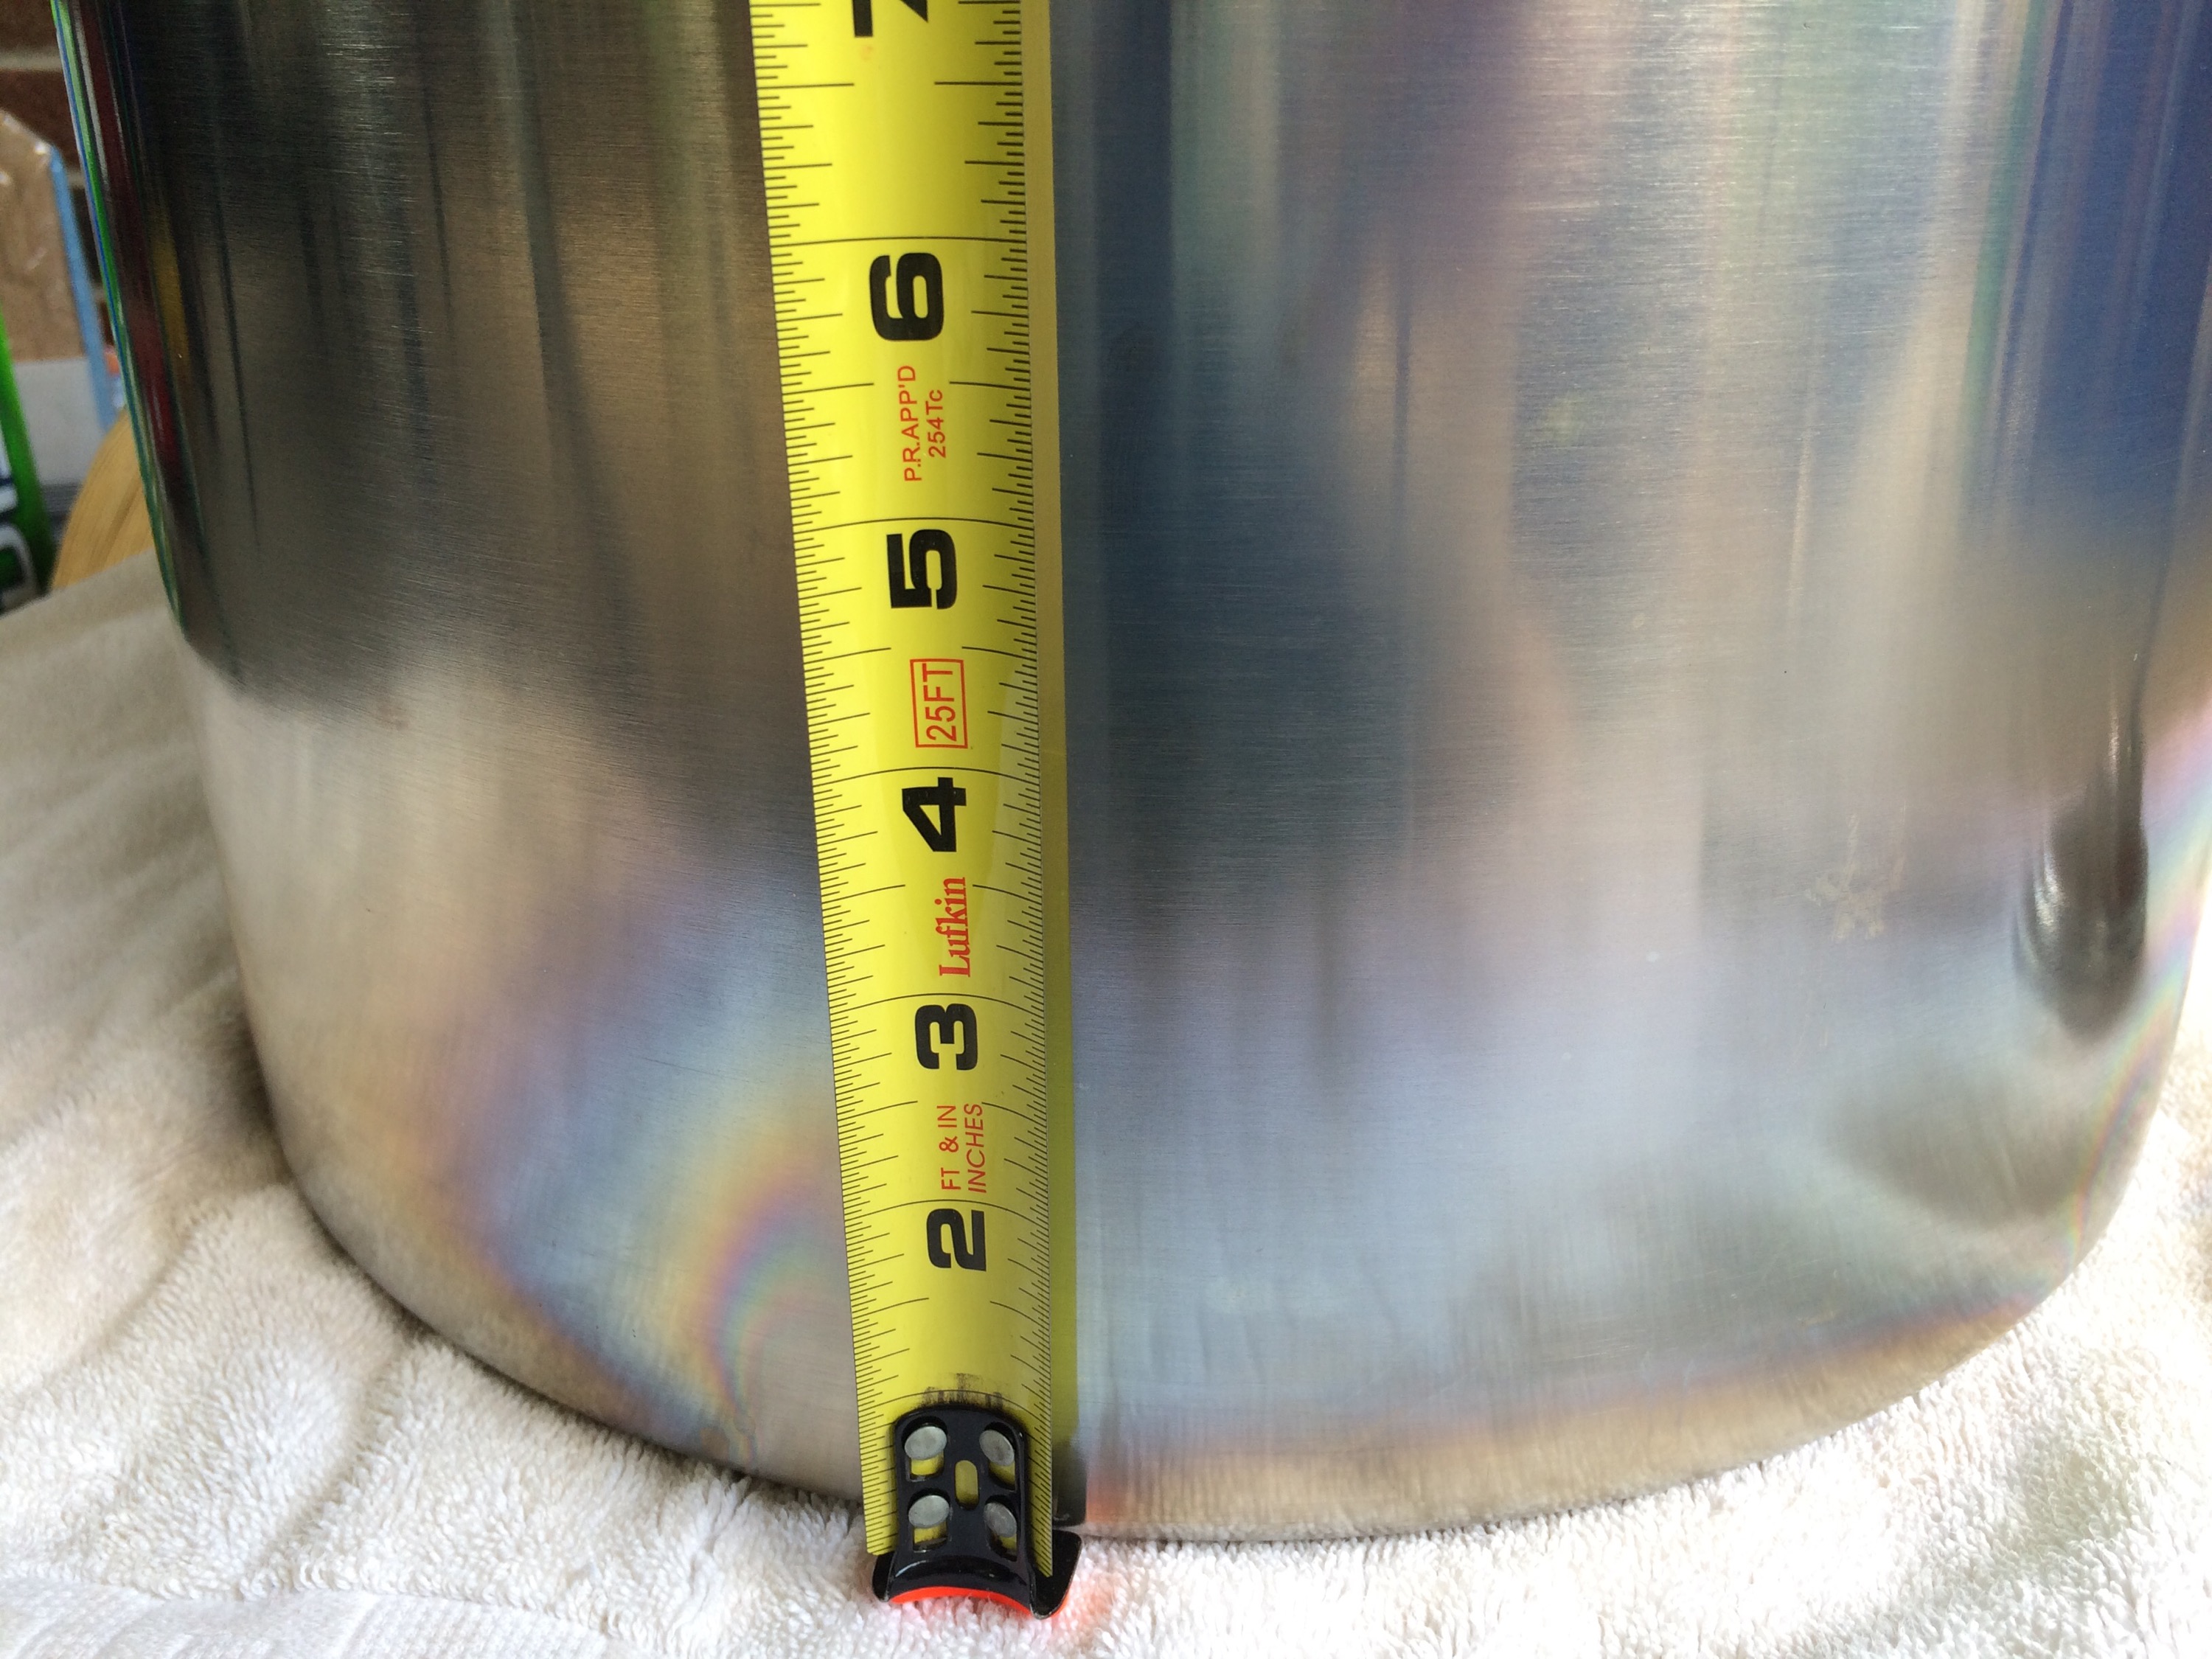
I recently purchased a larger kettle for brewing. Today I added a few accessories to make it more functional. With this upgrade and my new mash tun, I’m finally where I want to be with my small home brewing setup.
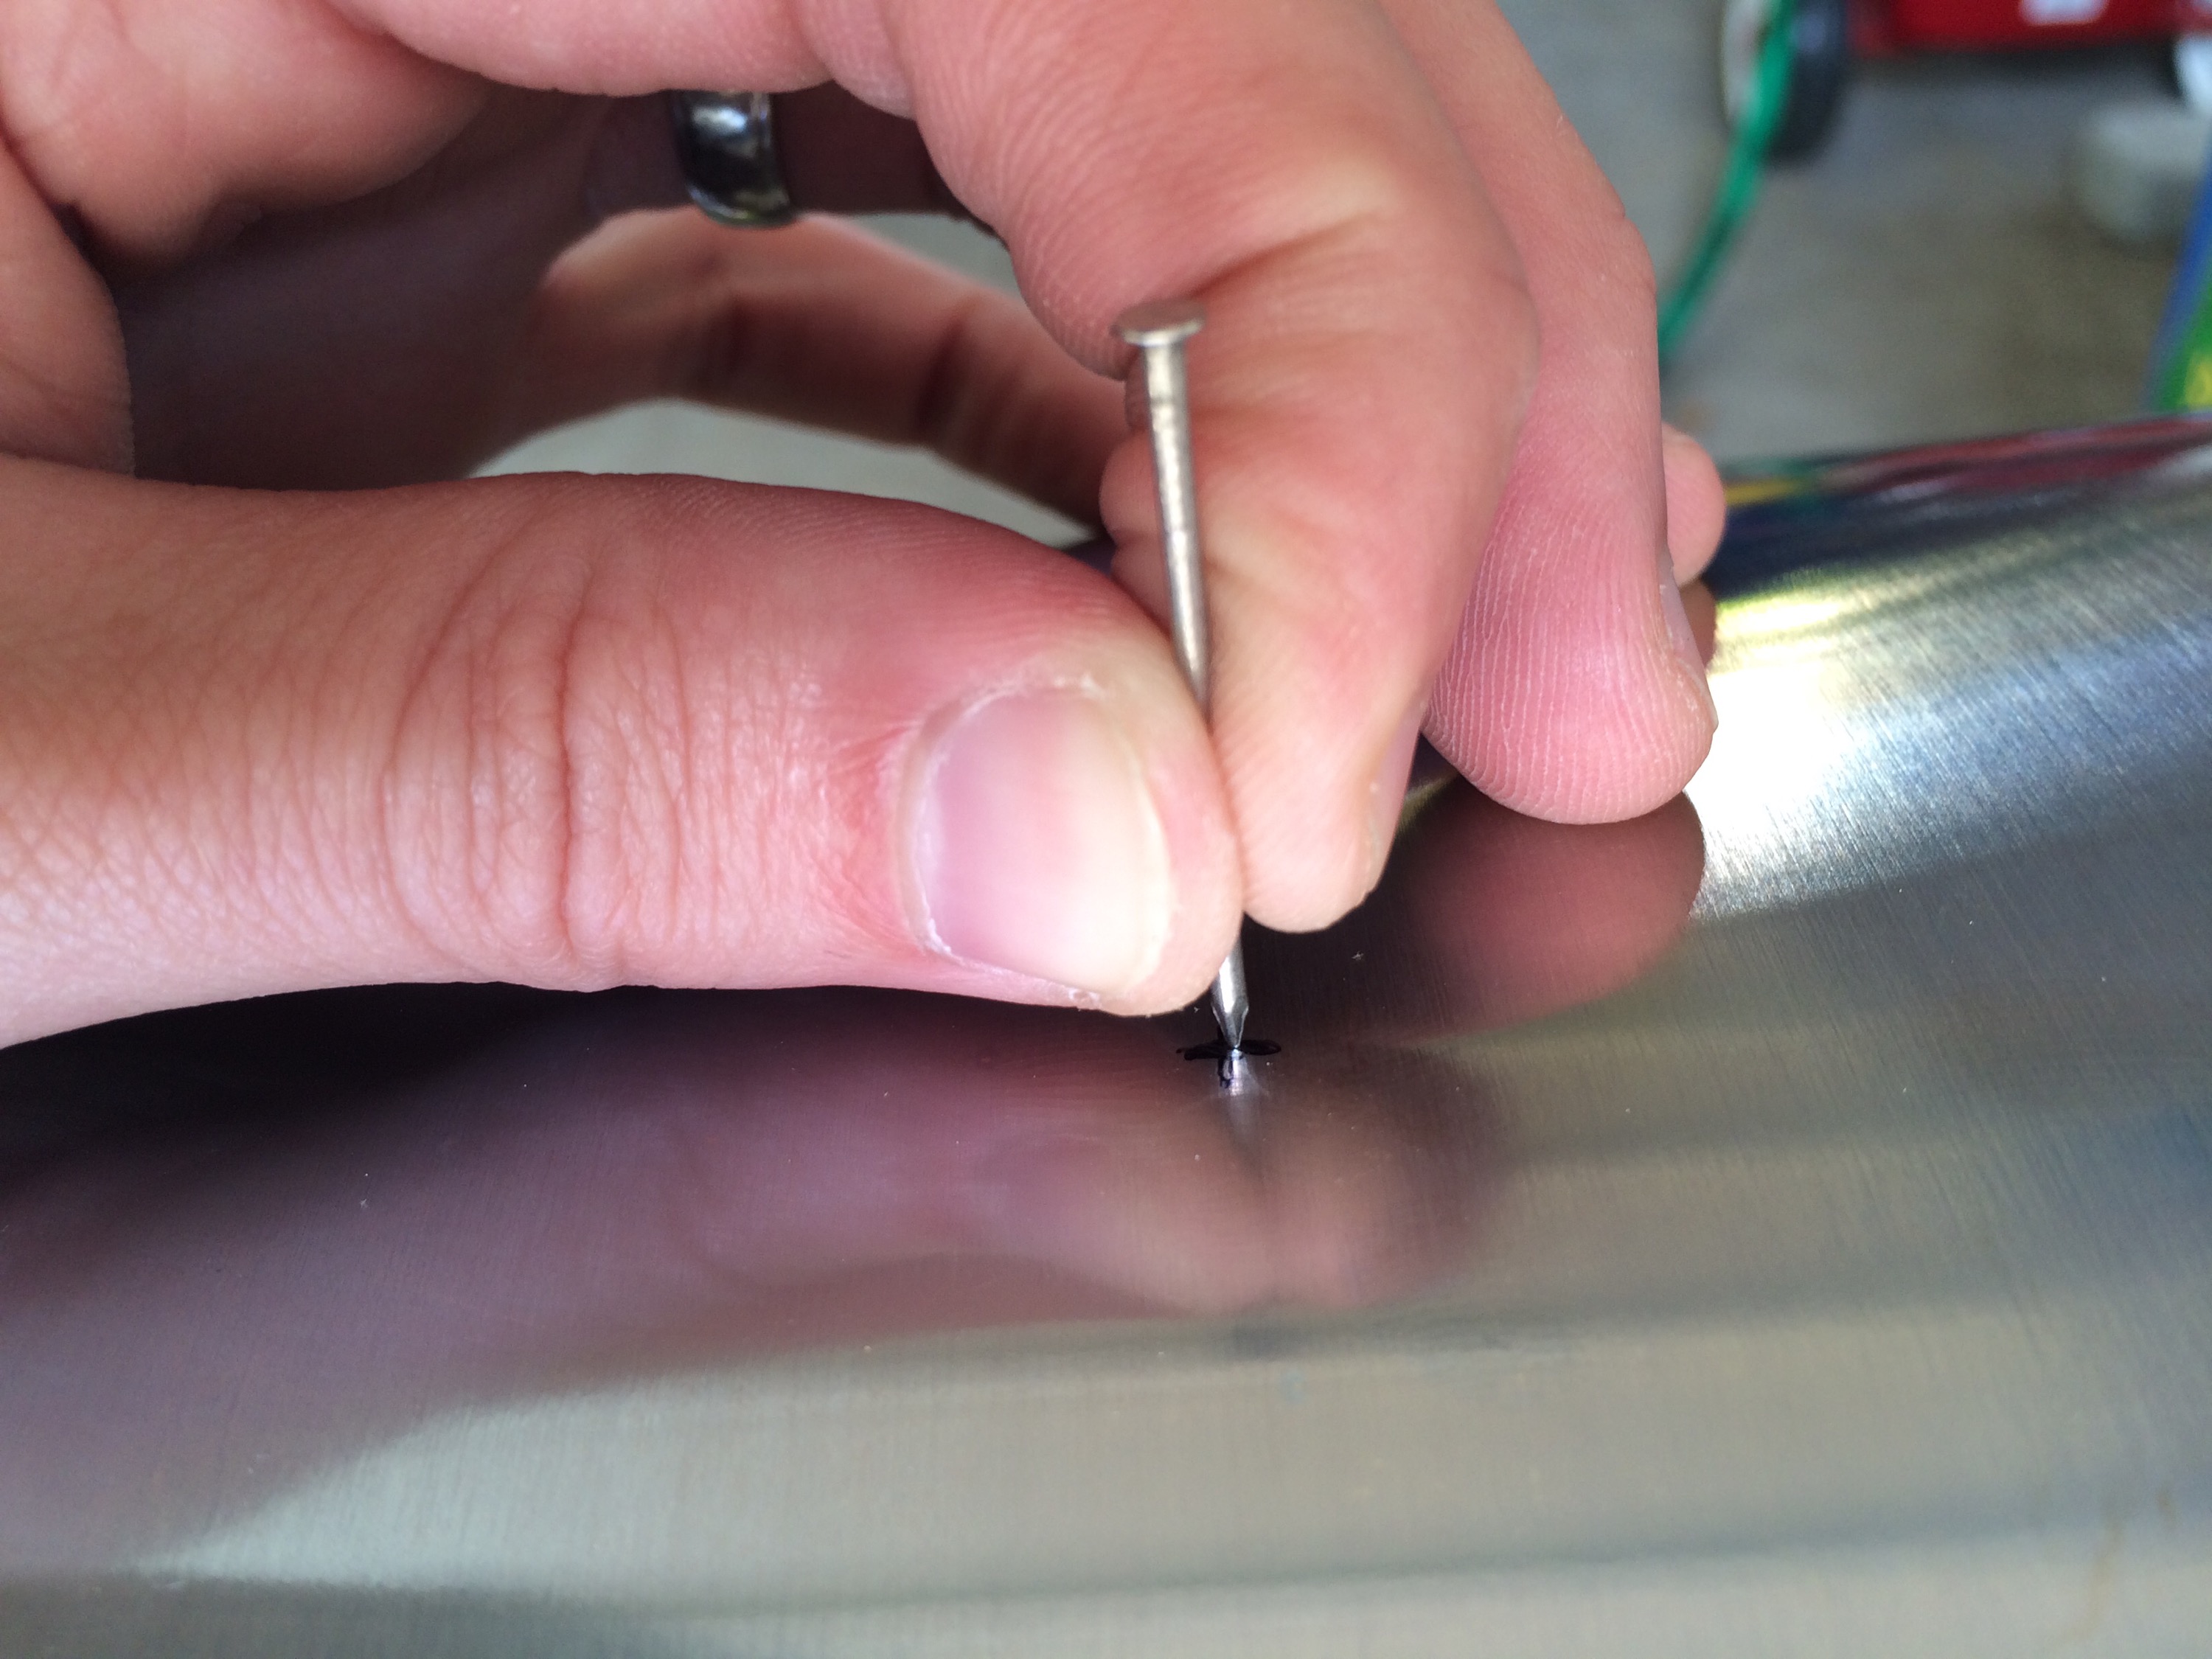
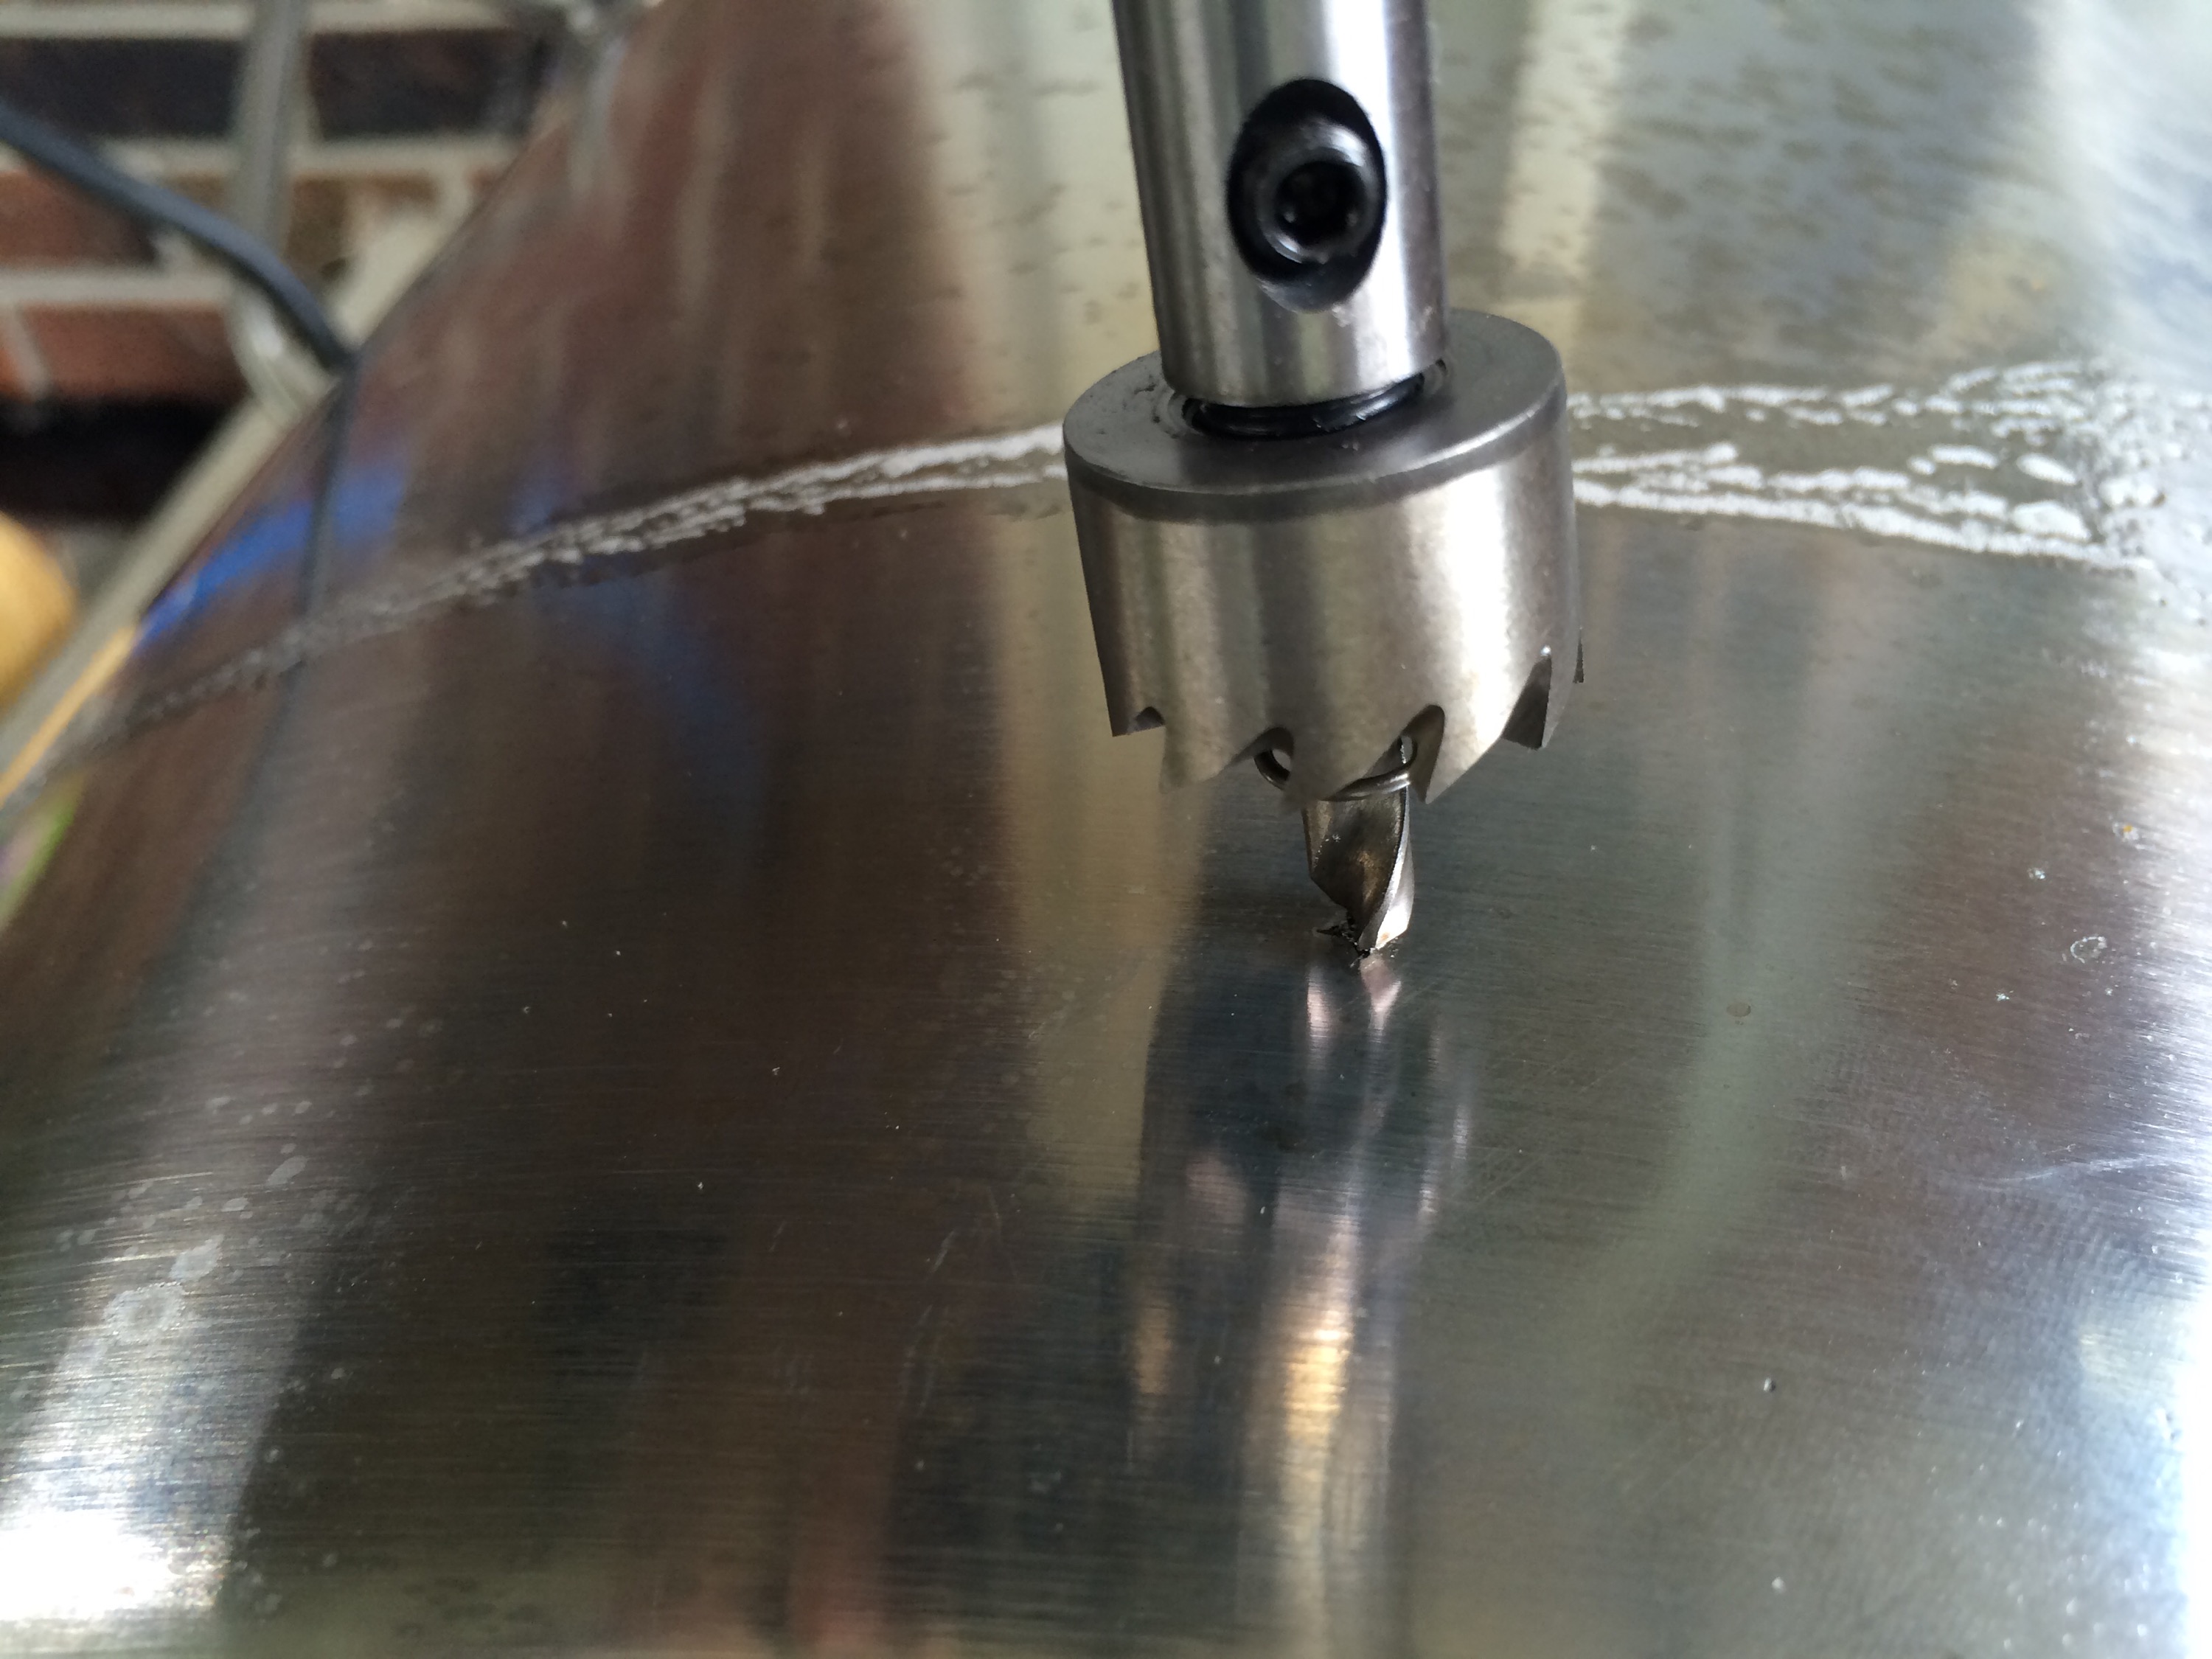
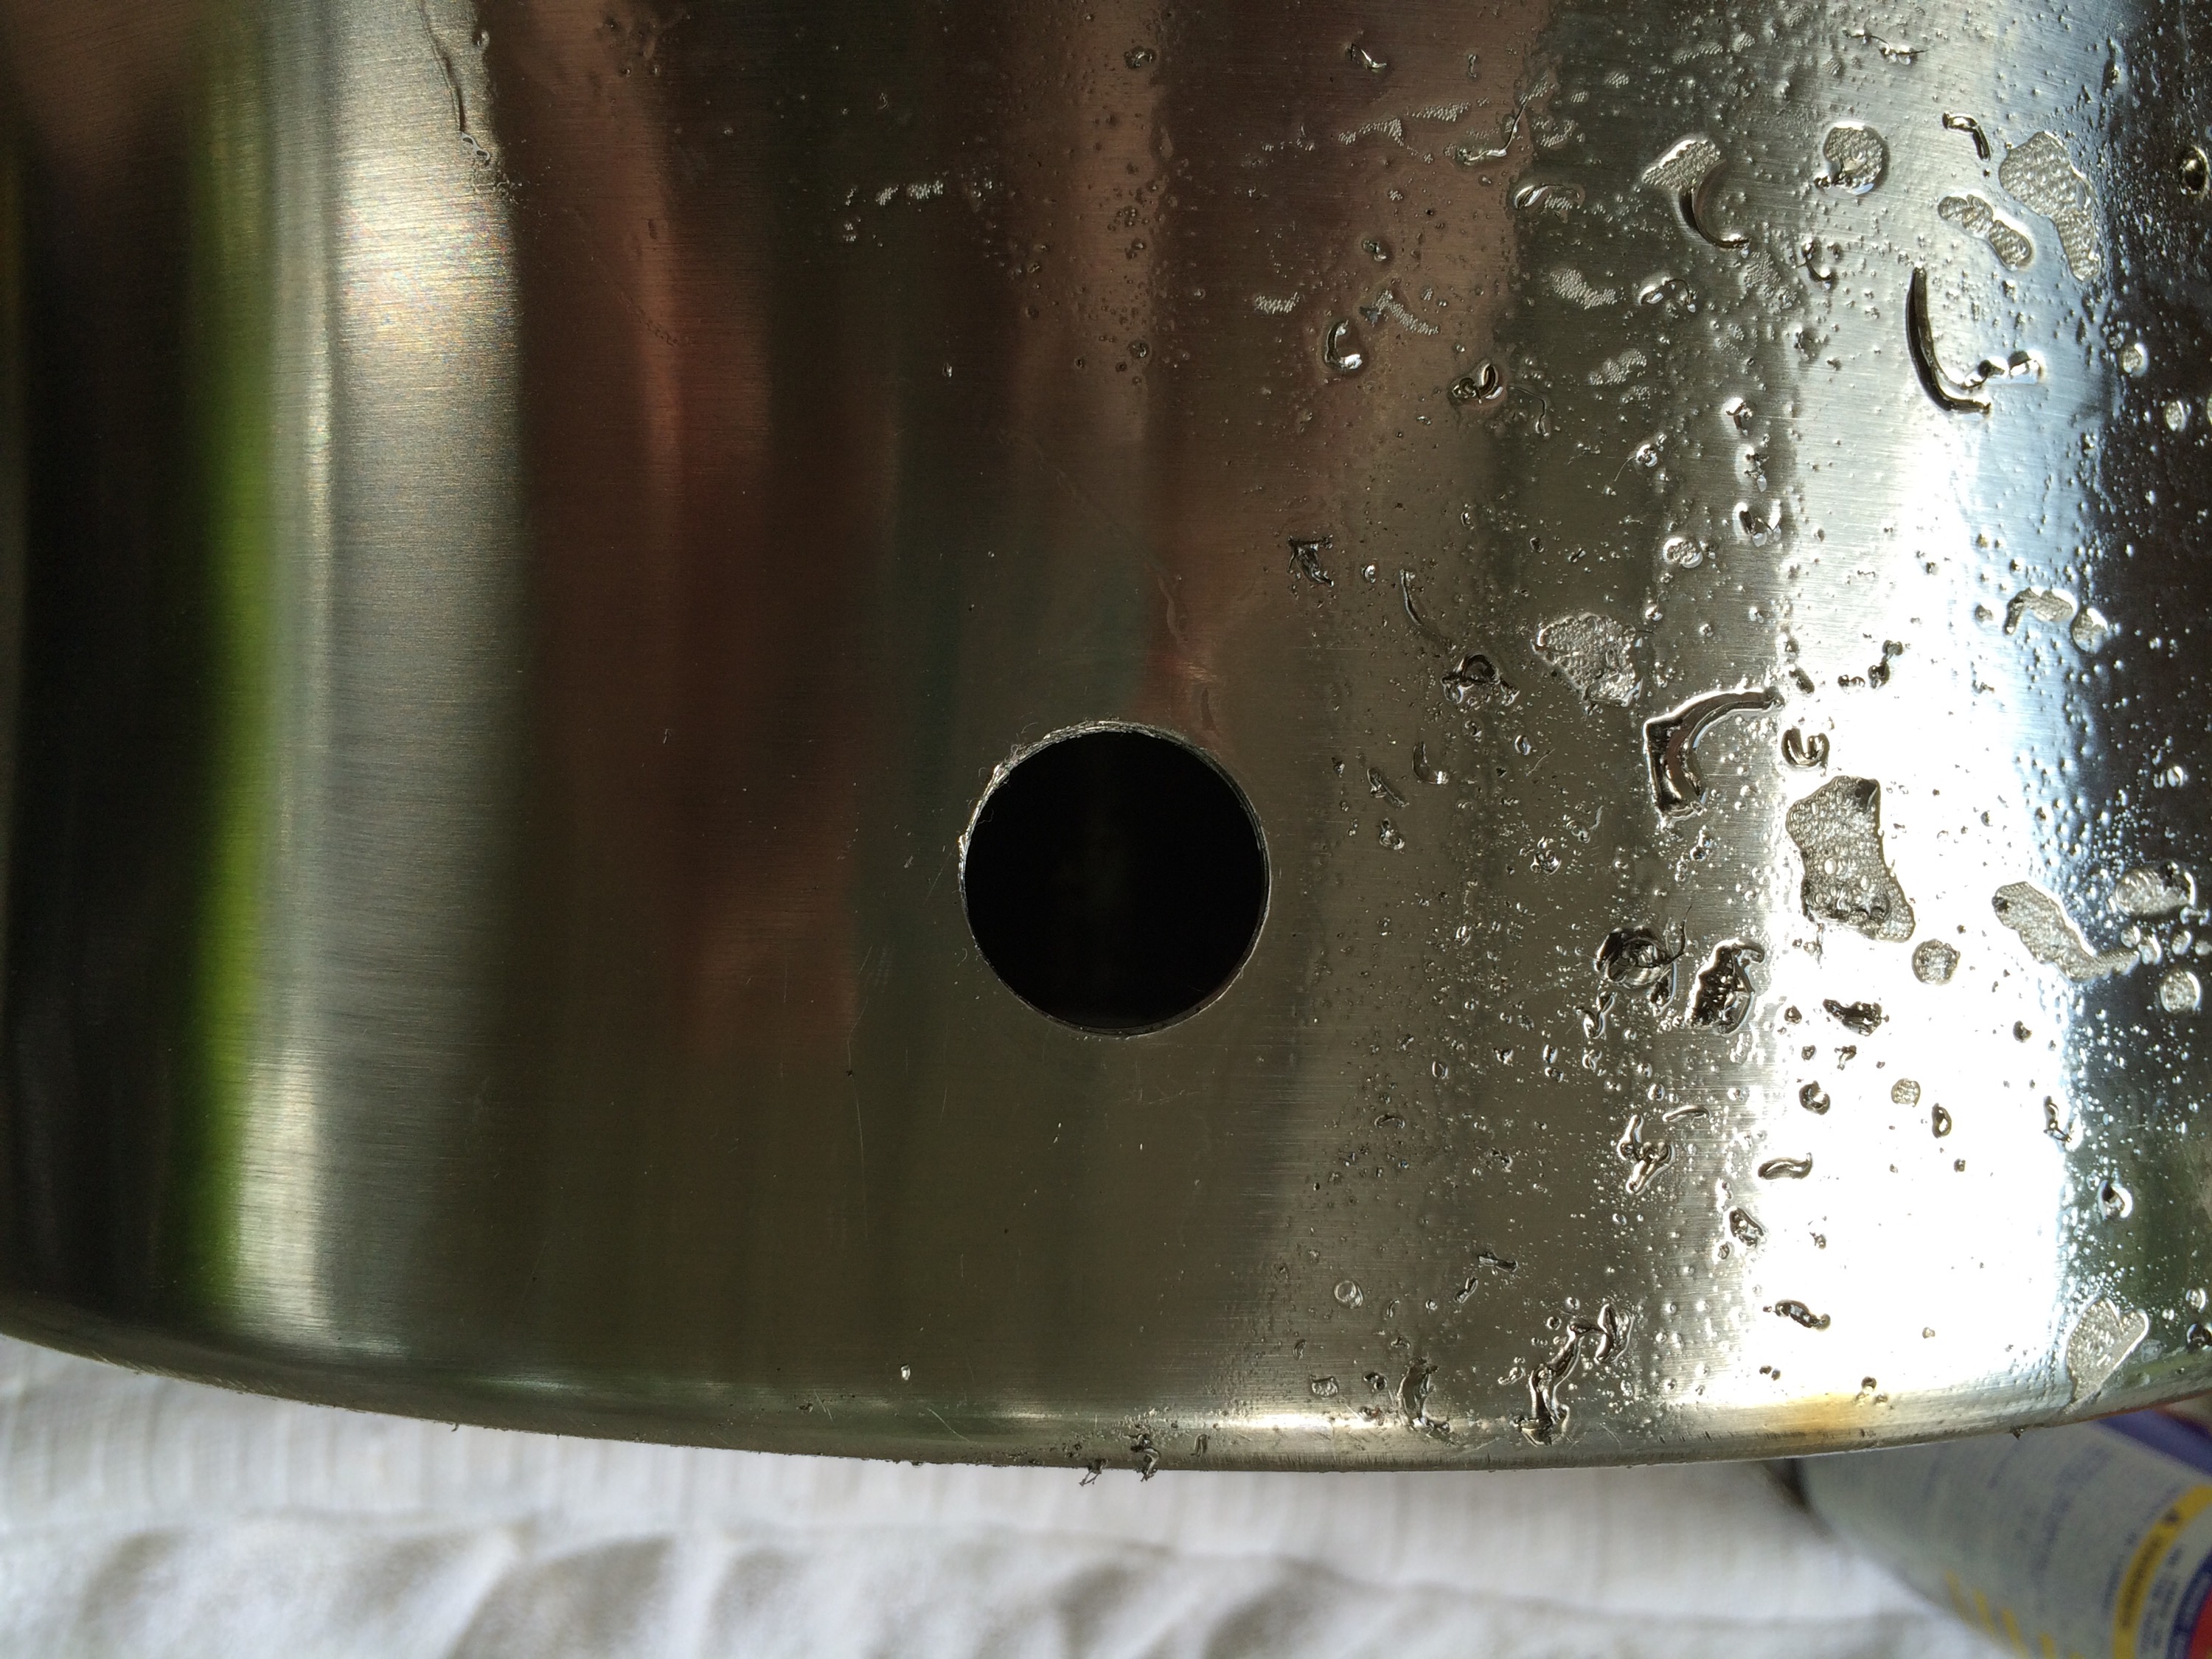
Here’s the adventure in pictures.


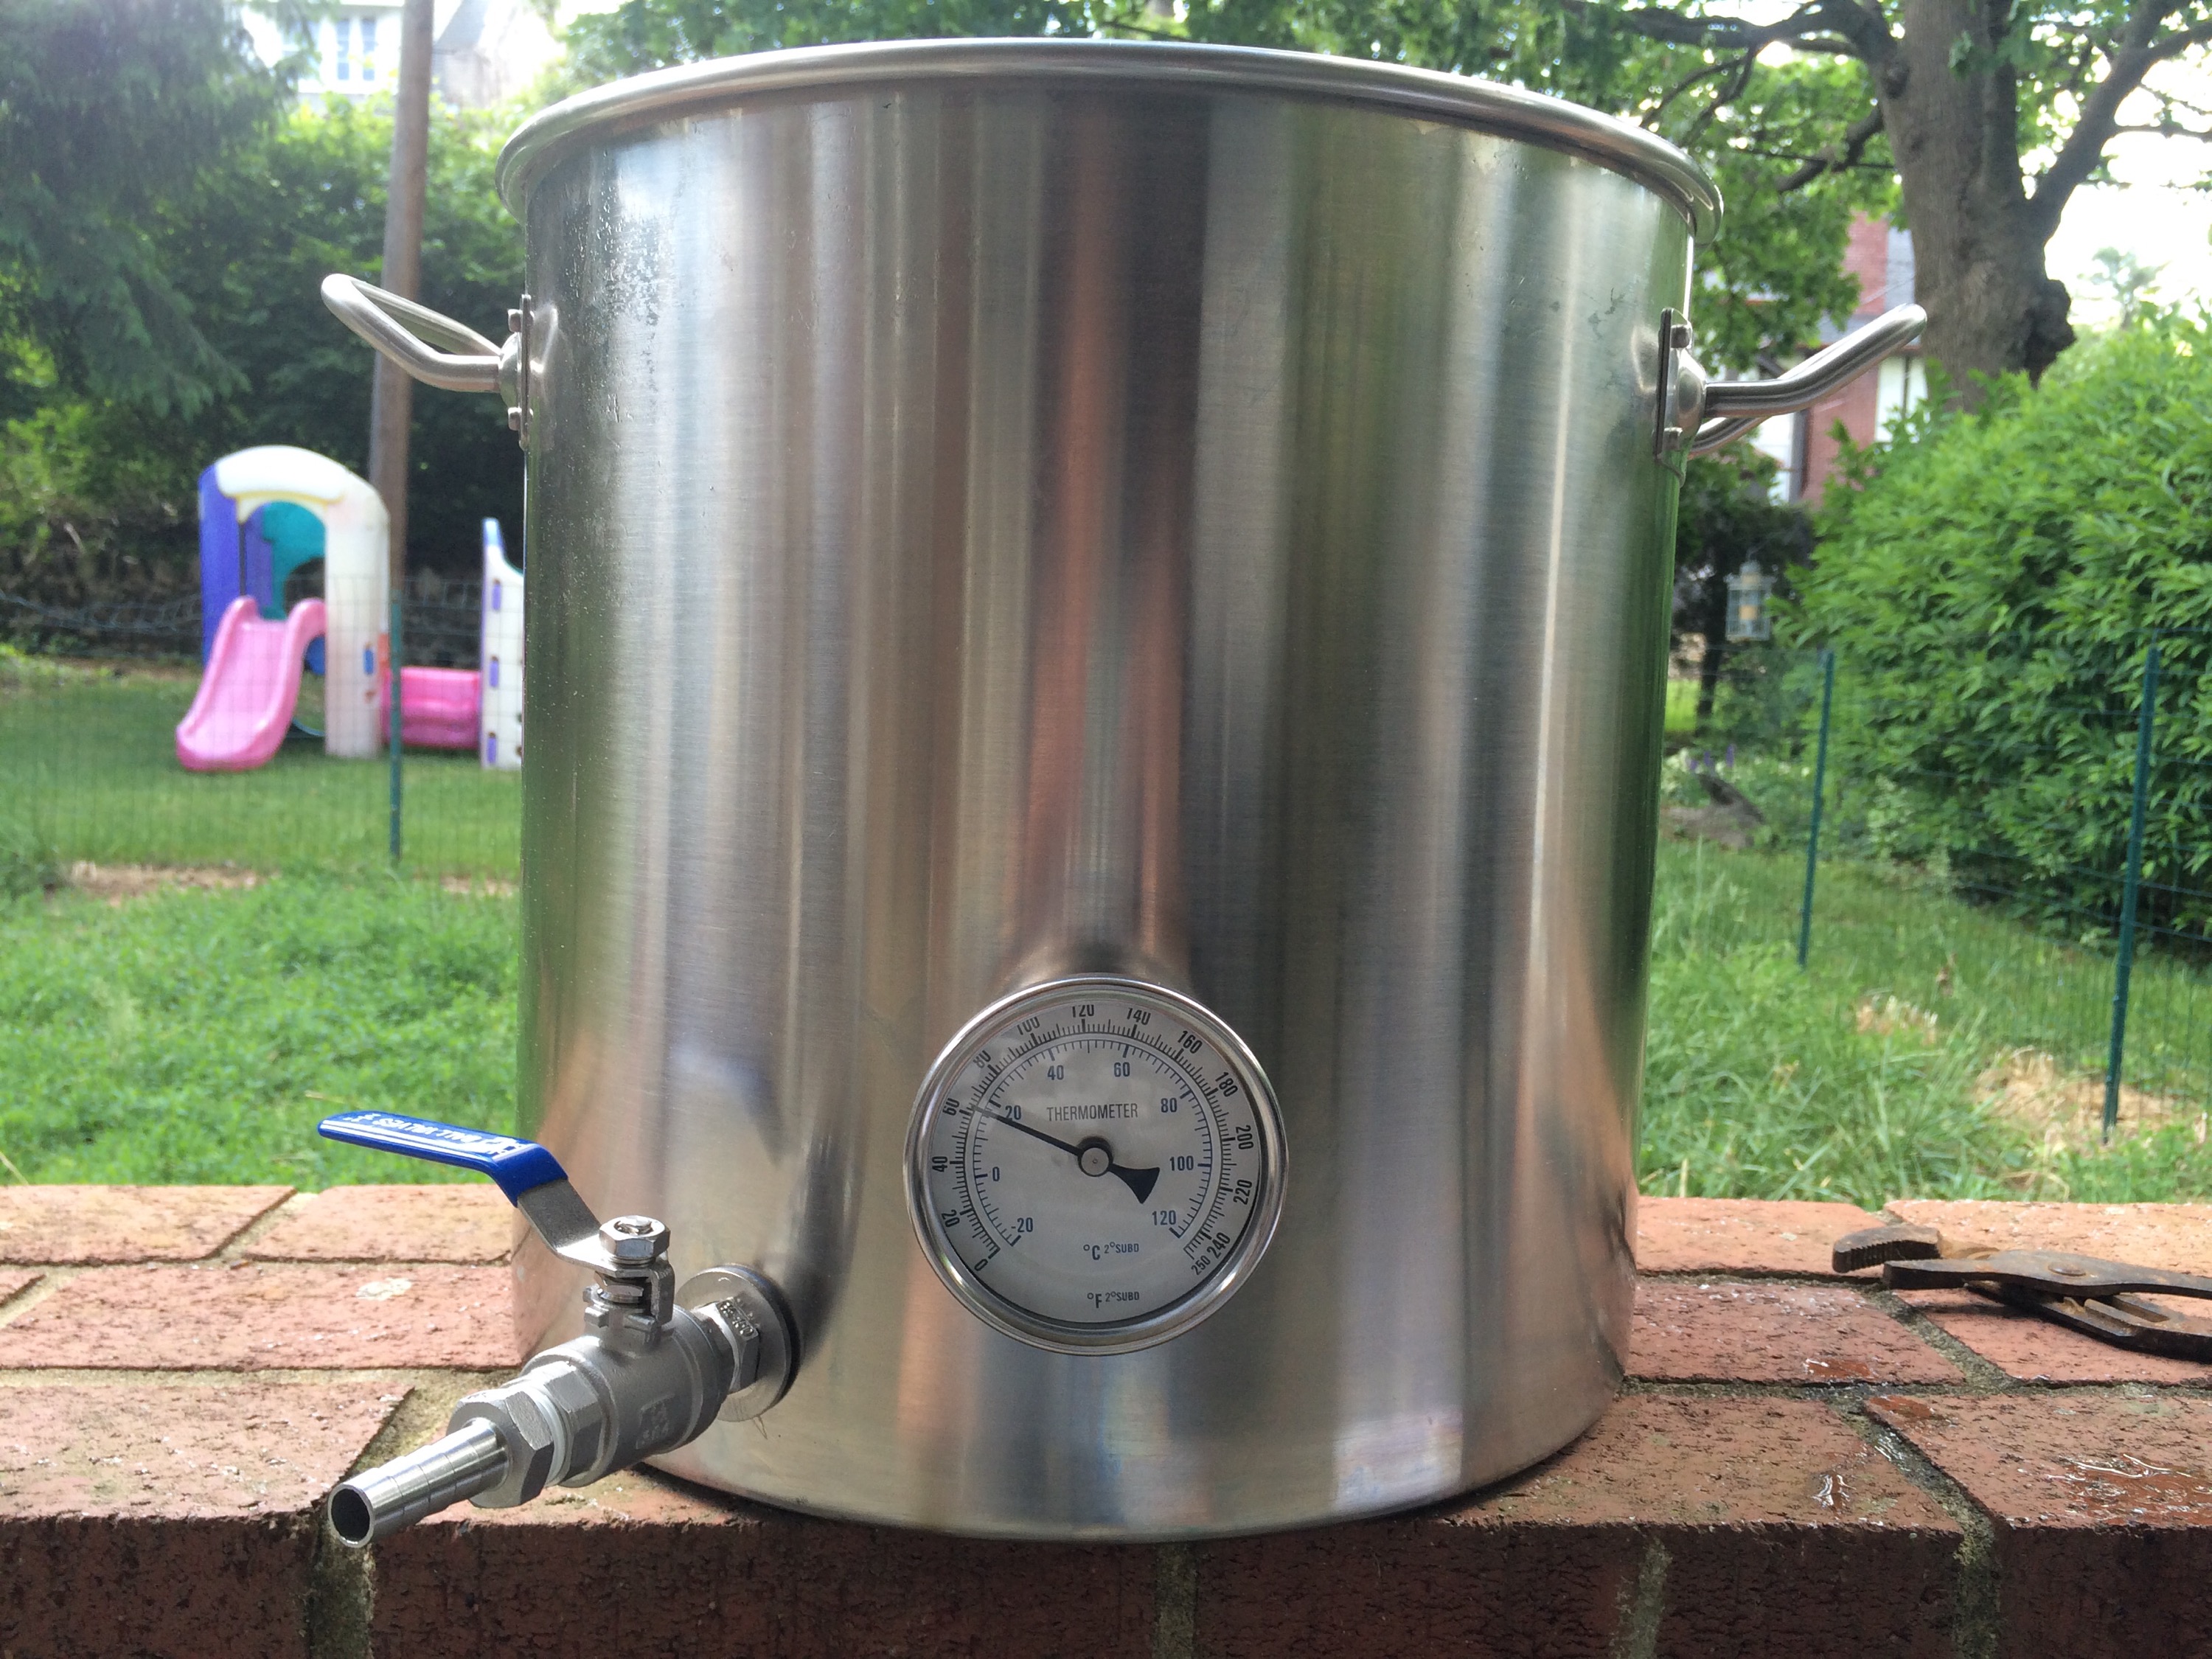
Some things I learned for next time:
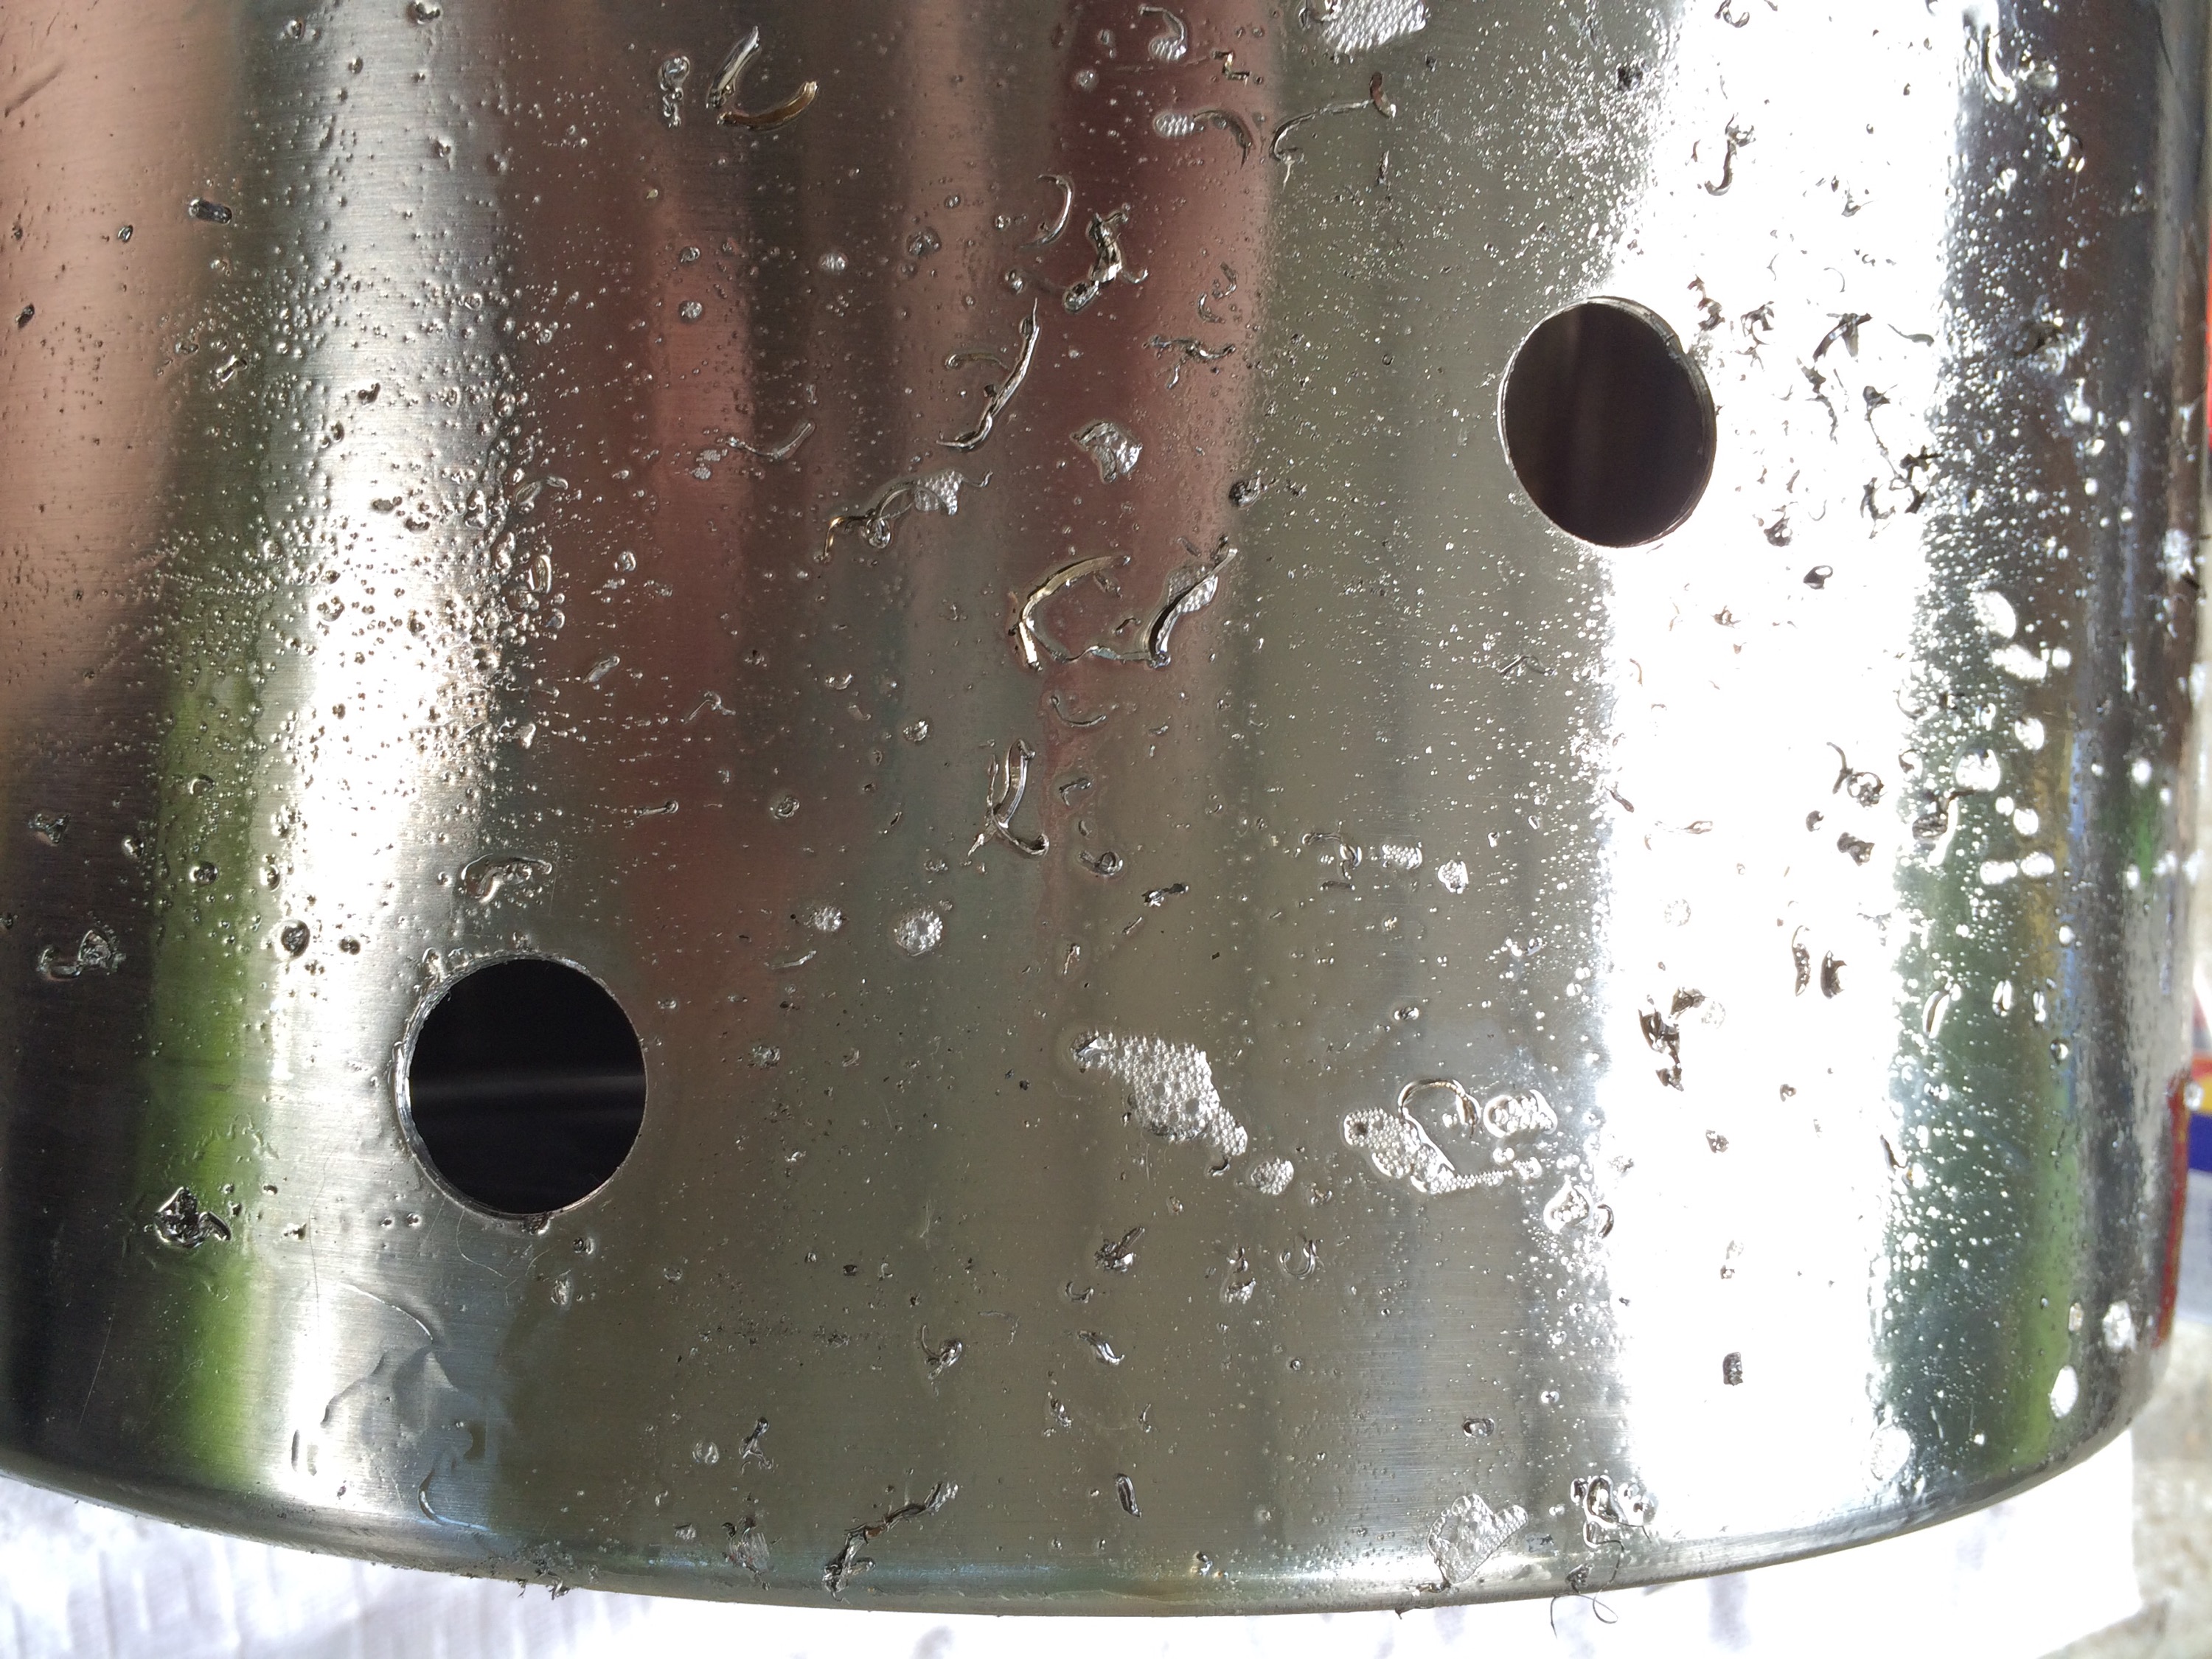
- Use a masonry bit to drill the pilot hole. I killed three regular drill bits trying to cut through the stainless steel.
- WD-40 is not the best option for drilling oil, but it does help.
- Put more weight on the drill than you think. If I could have sat on it I would have.
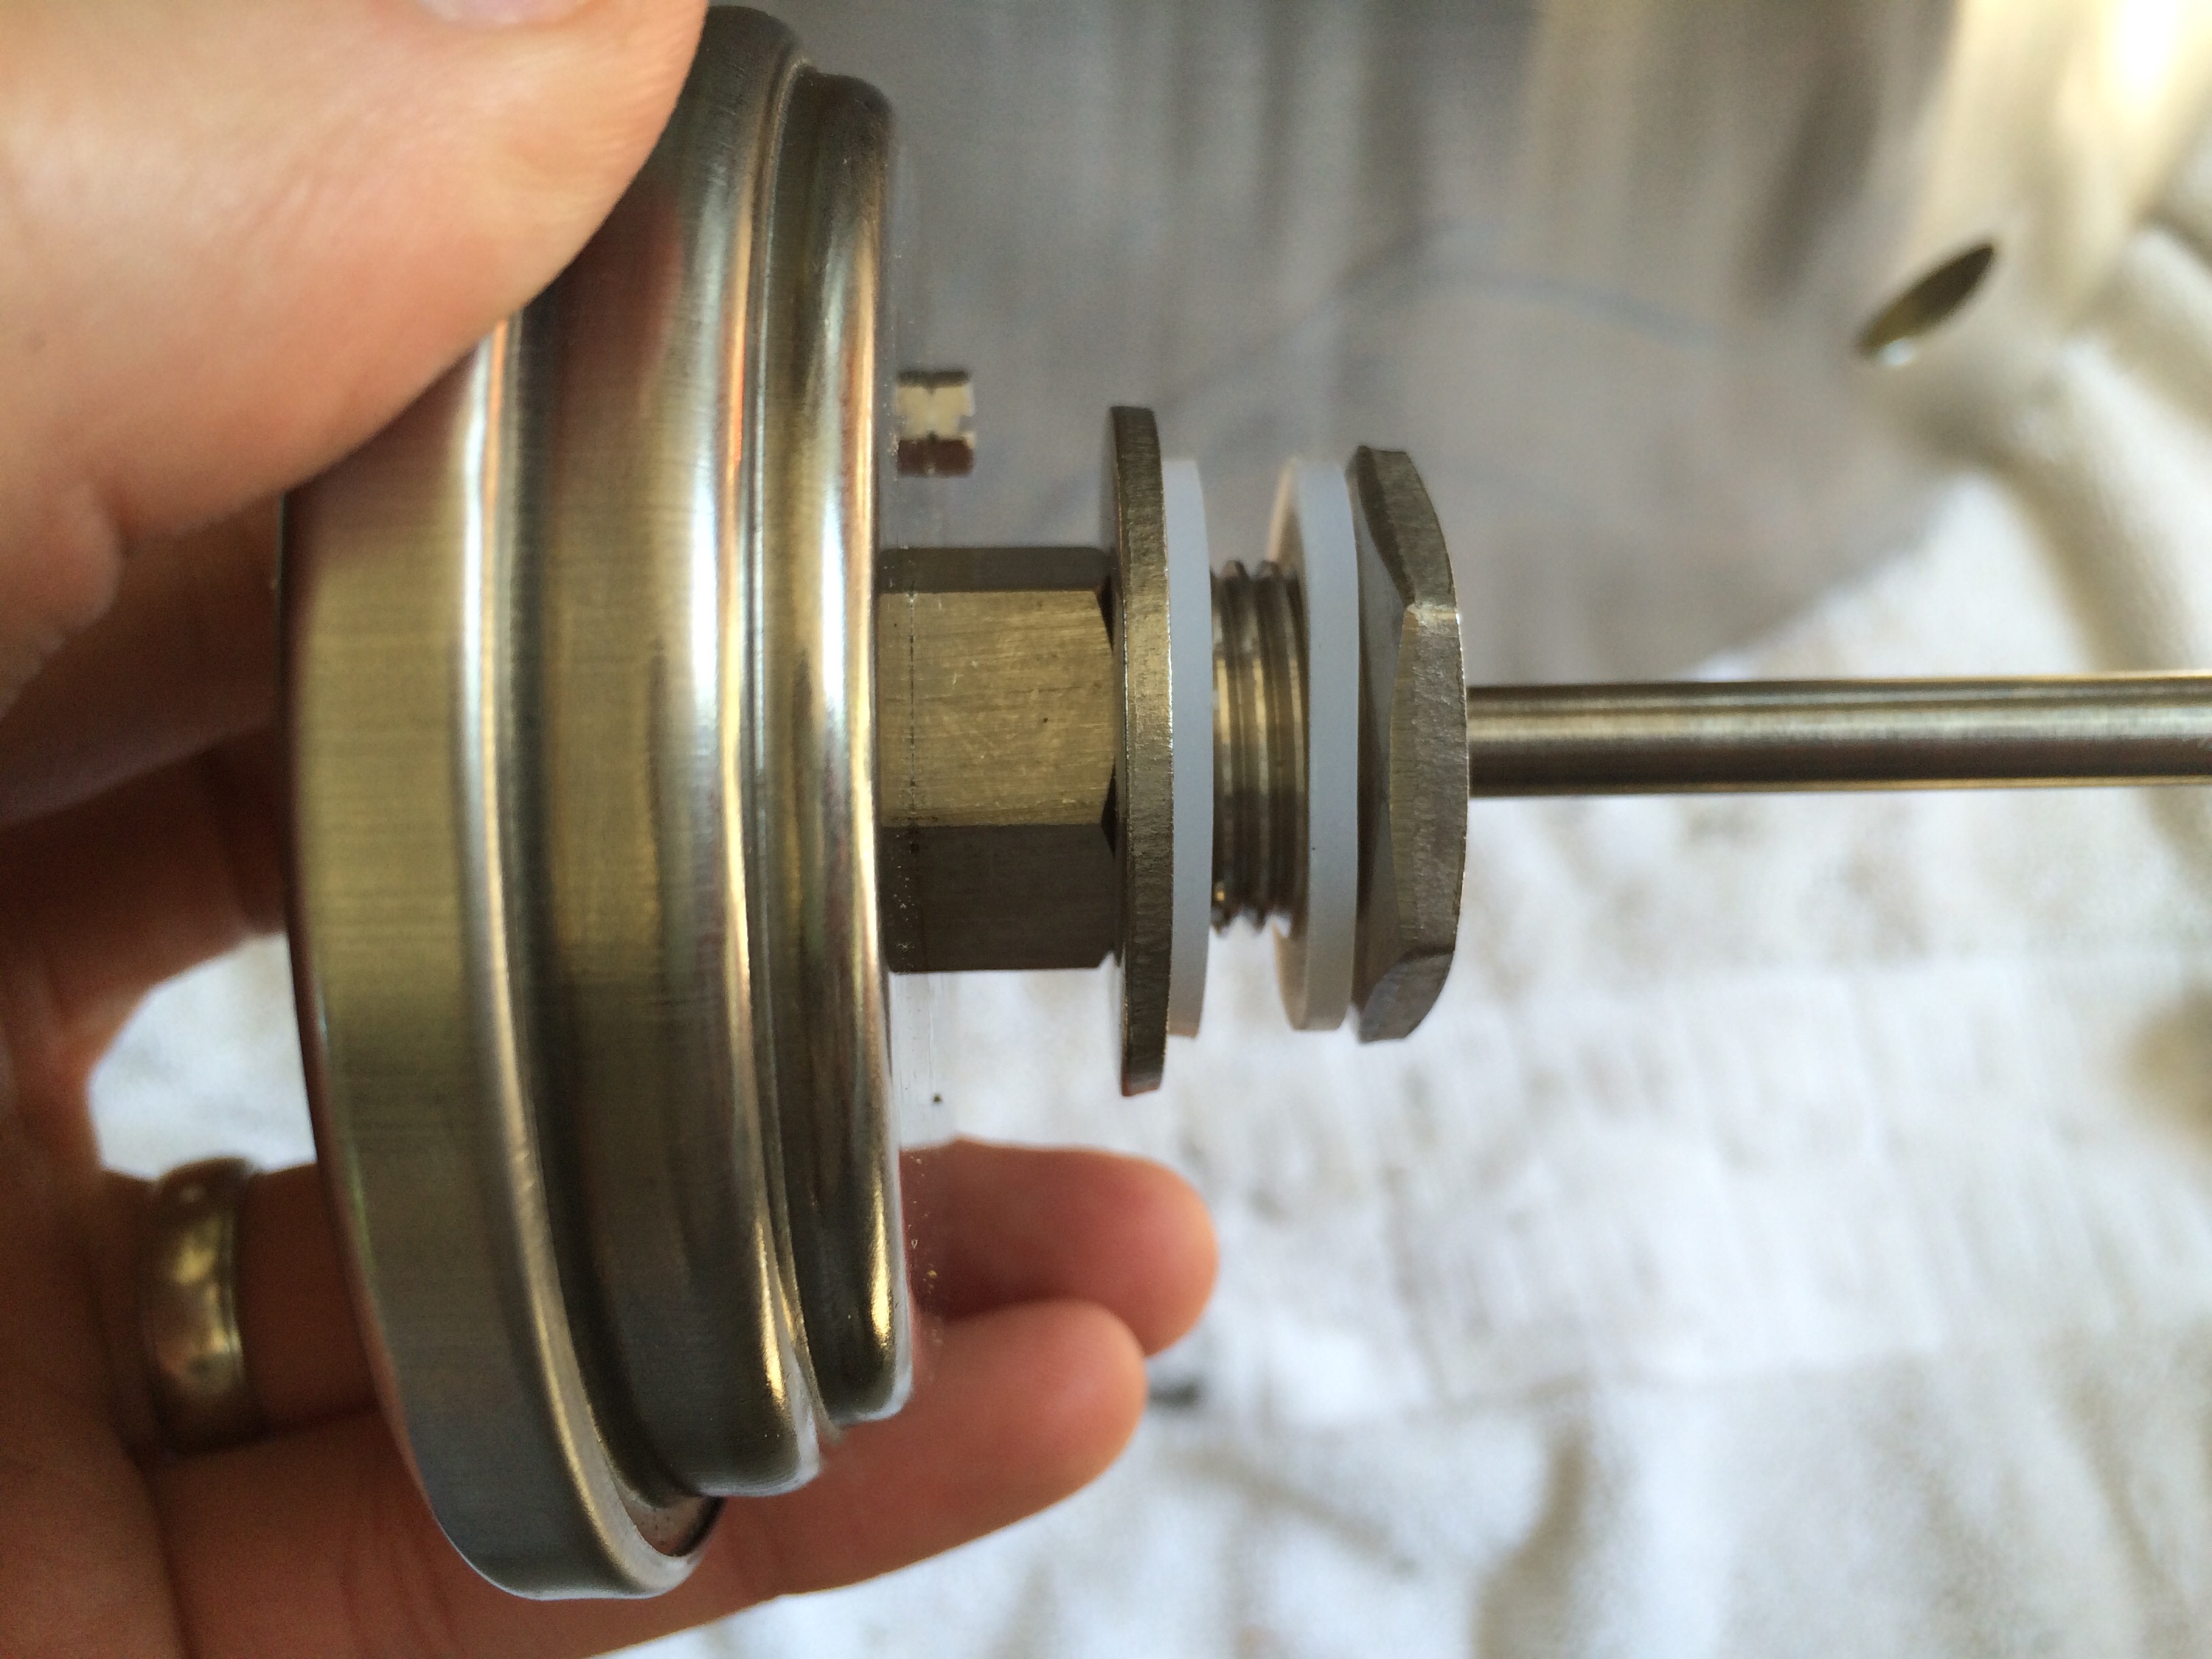
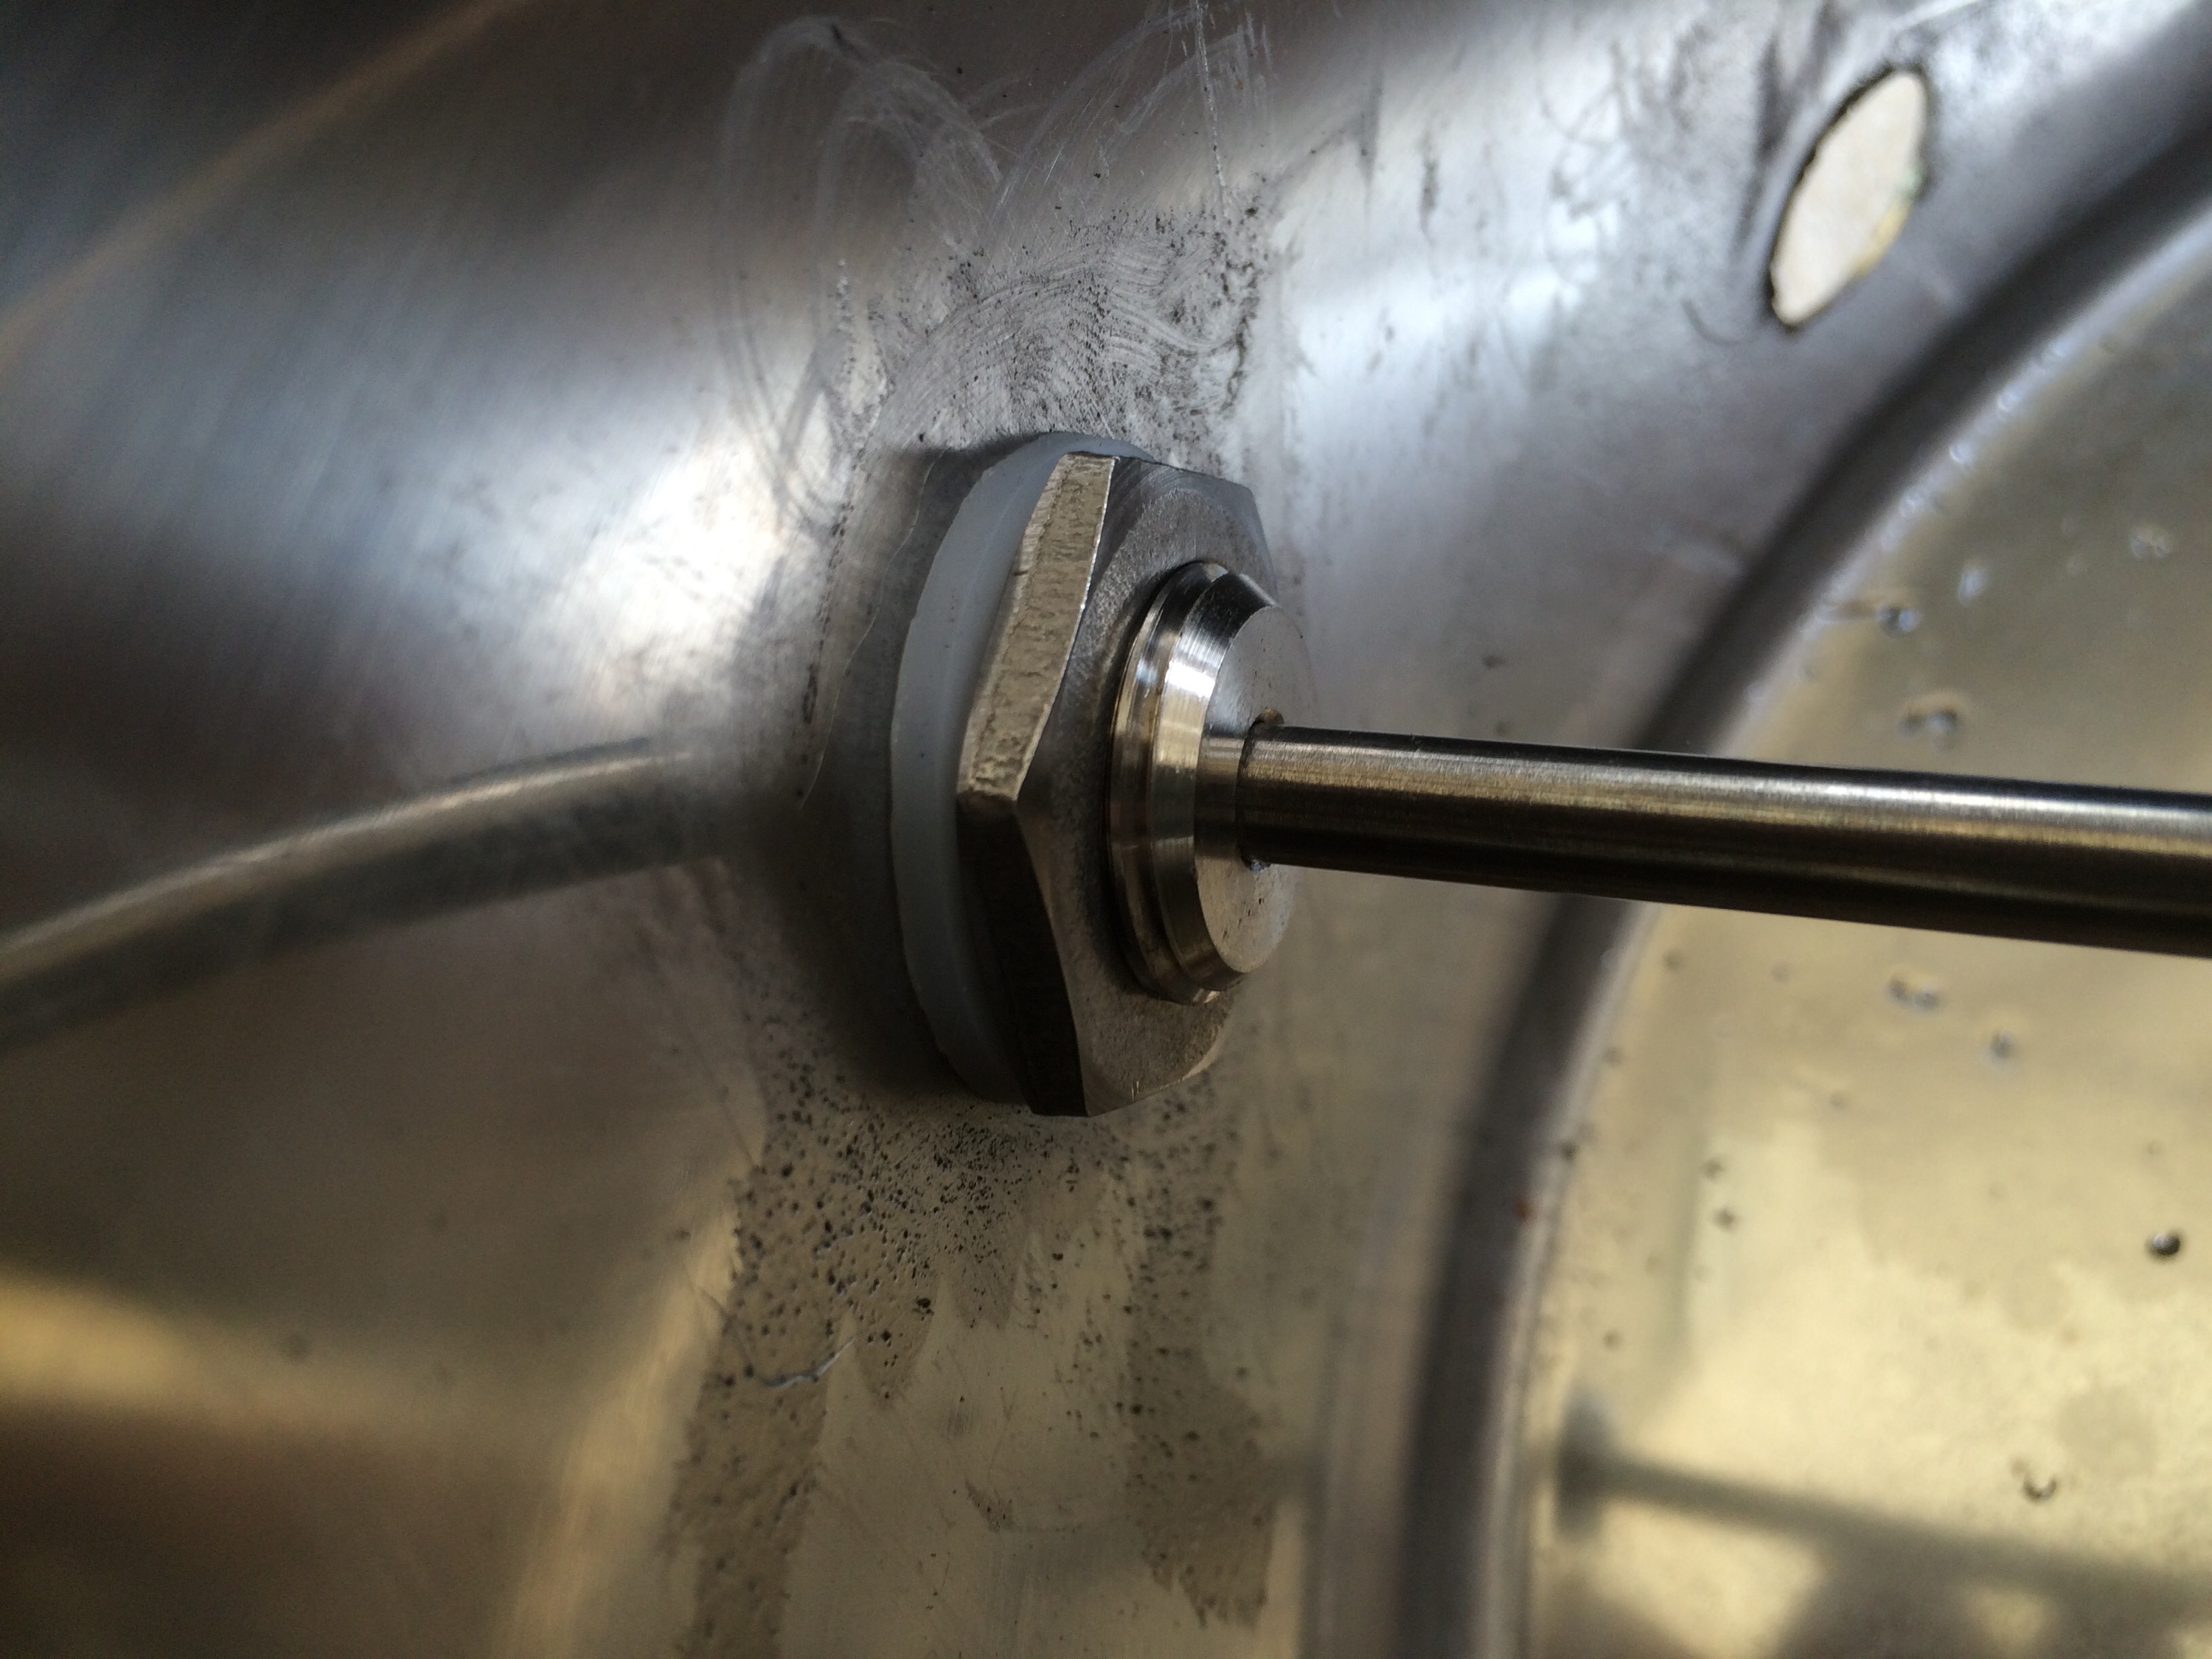
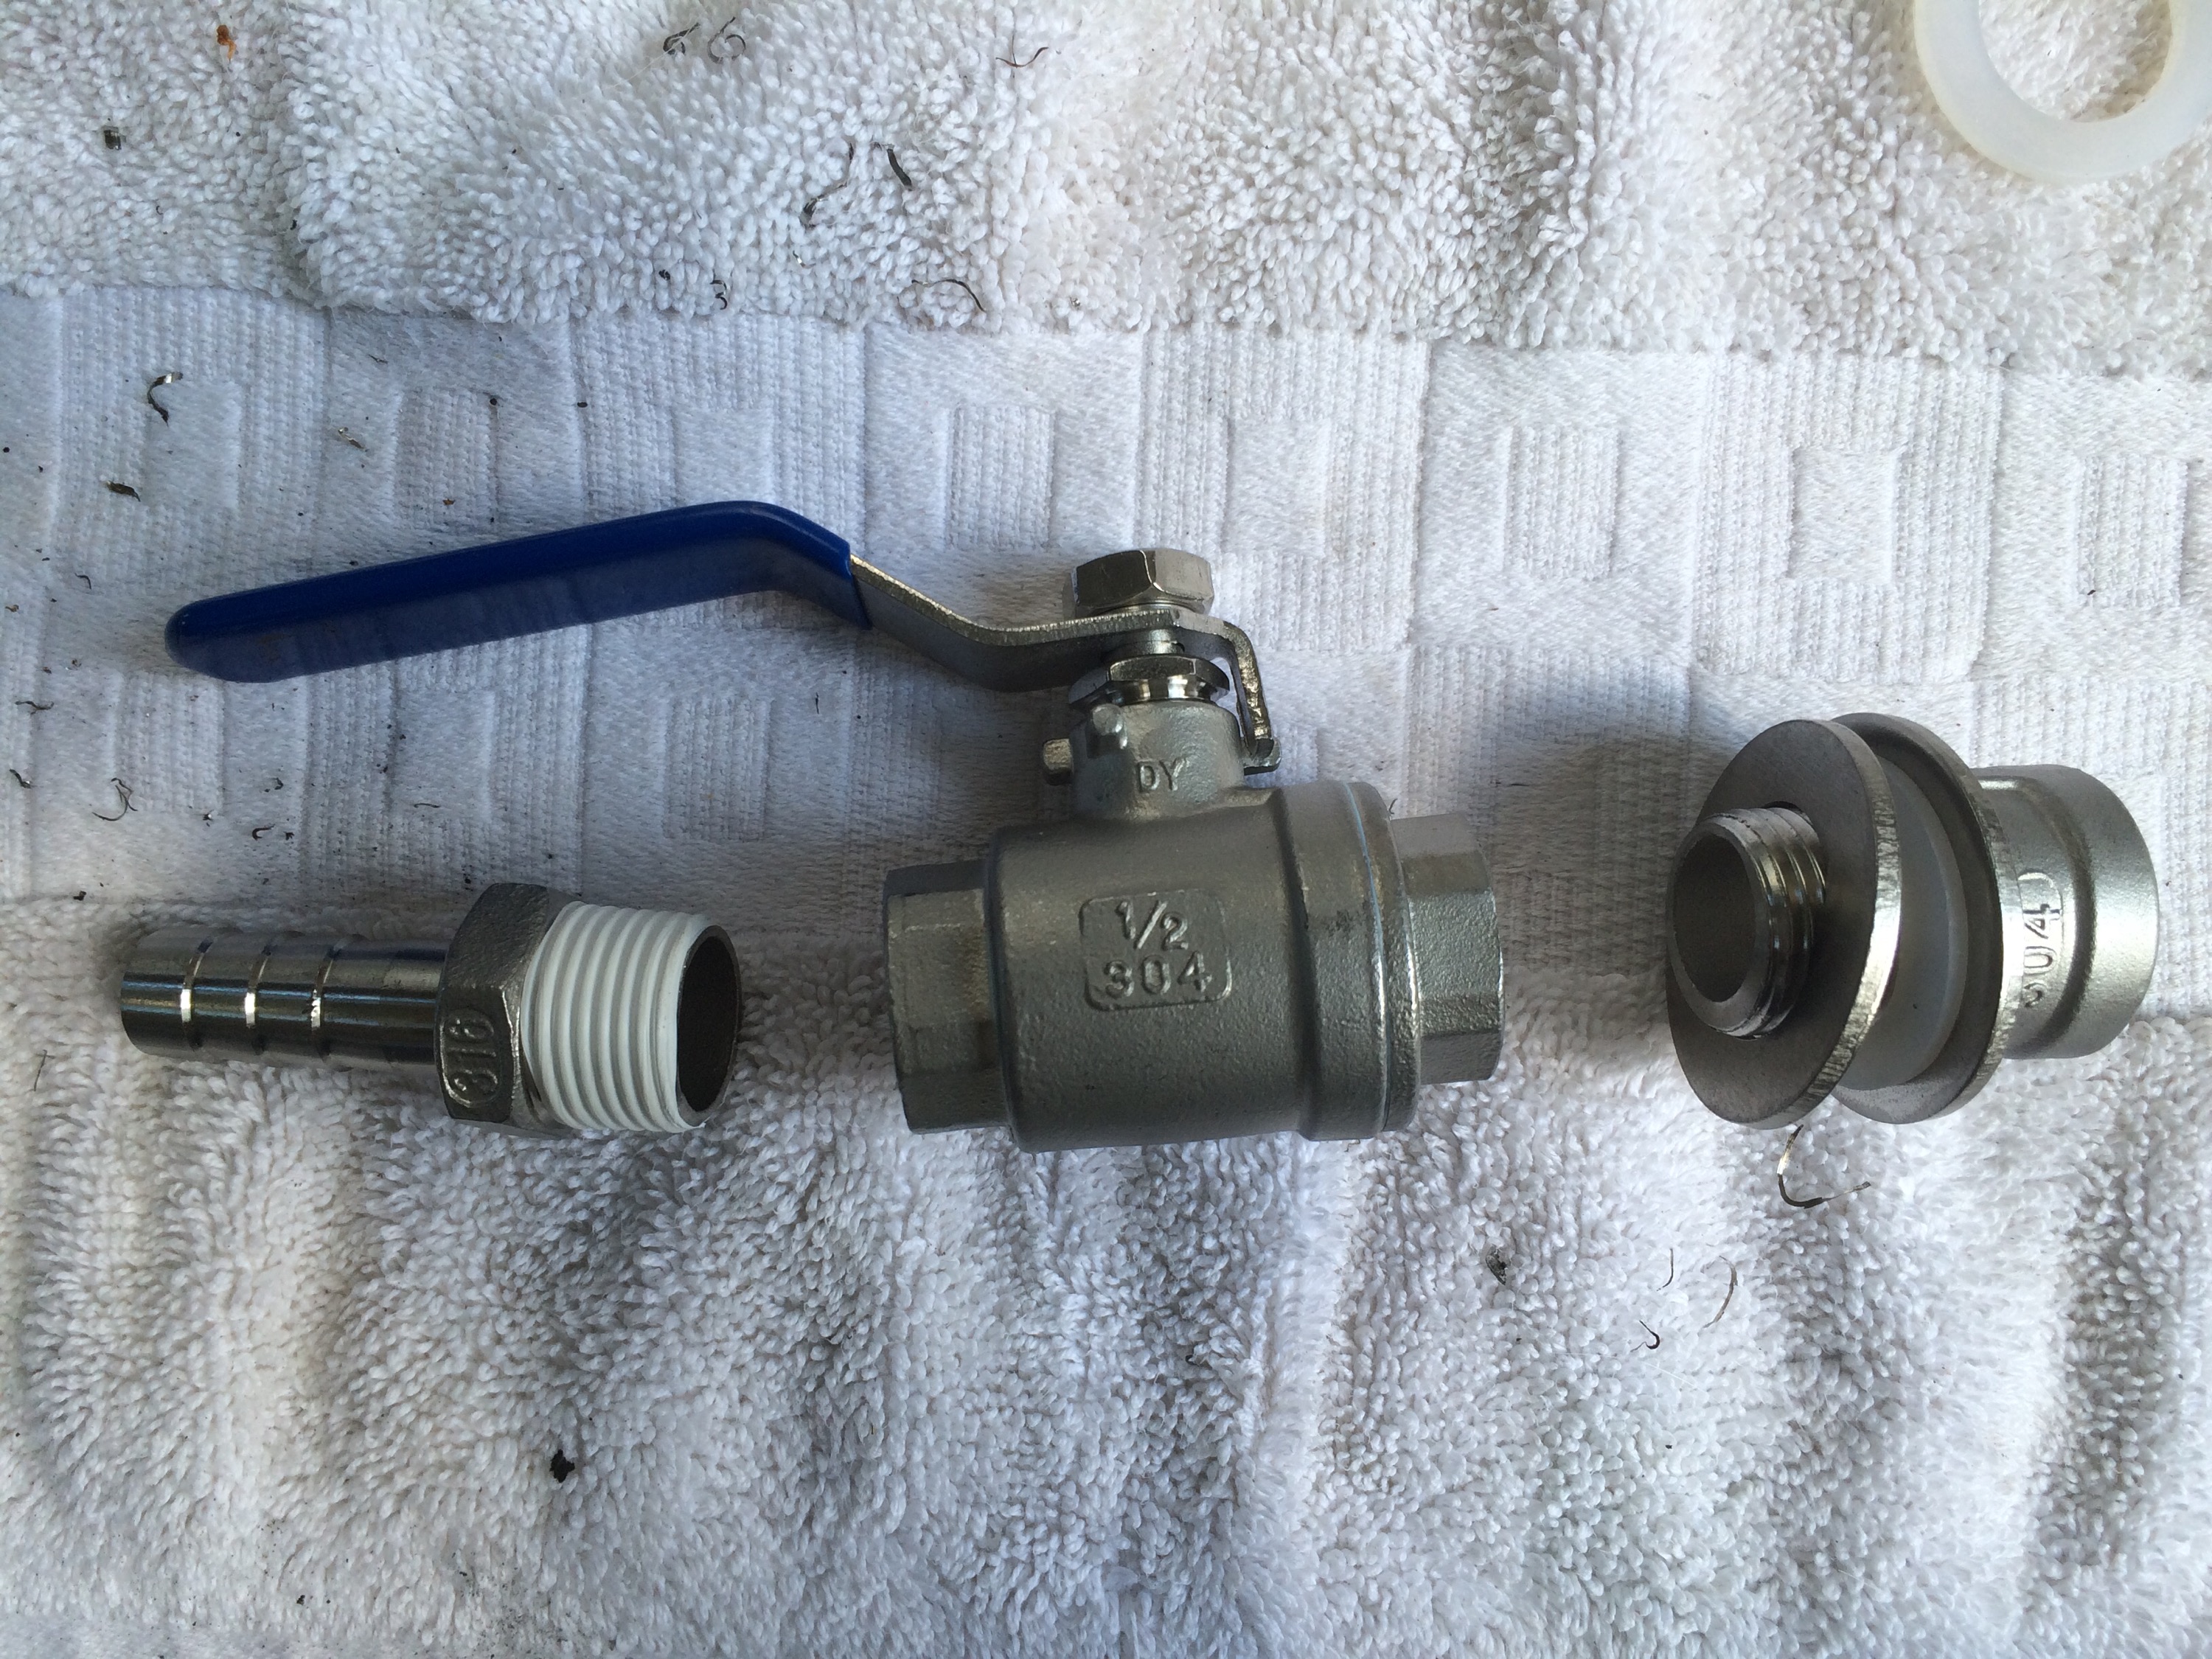
- Make the ball valve as low as possible. I probably could’ve dropped it another 1/2″ lower and still had a good seal.
- Use the Teflon tape liberally. I had leaks at both holes that were fixed with 10-15 more wraps of tape.
I’m really looking forward to using this on my next brew day. Now I can see the temperature at a glance. I also don’t have to lift 3-5 gallons of liquid and try to dump it through a funnel into my fermenter.
It should go a lot smoother.

Nice! I’ve found that any small leaks tend to seal themselves with caramelized wort as soon as you start boiling. Love having a thermometer in my pot!
LikeLike
Good to know! I’m excited for a thermometer in my pot. No more constantly checking with my handheld one while cooling!
LikeLike