Accent walls are a great way to break up a large room and add interest to an otherwise ordinary space. Ever since we had our basement finished over a year ago we’ve had this idea for an accent wall at the bottom of the stairs. It took until now to finally get around to actually doing it.
The wall
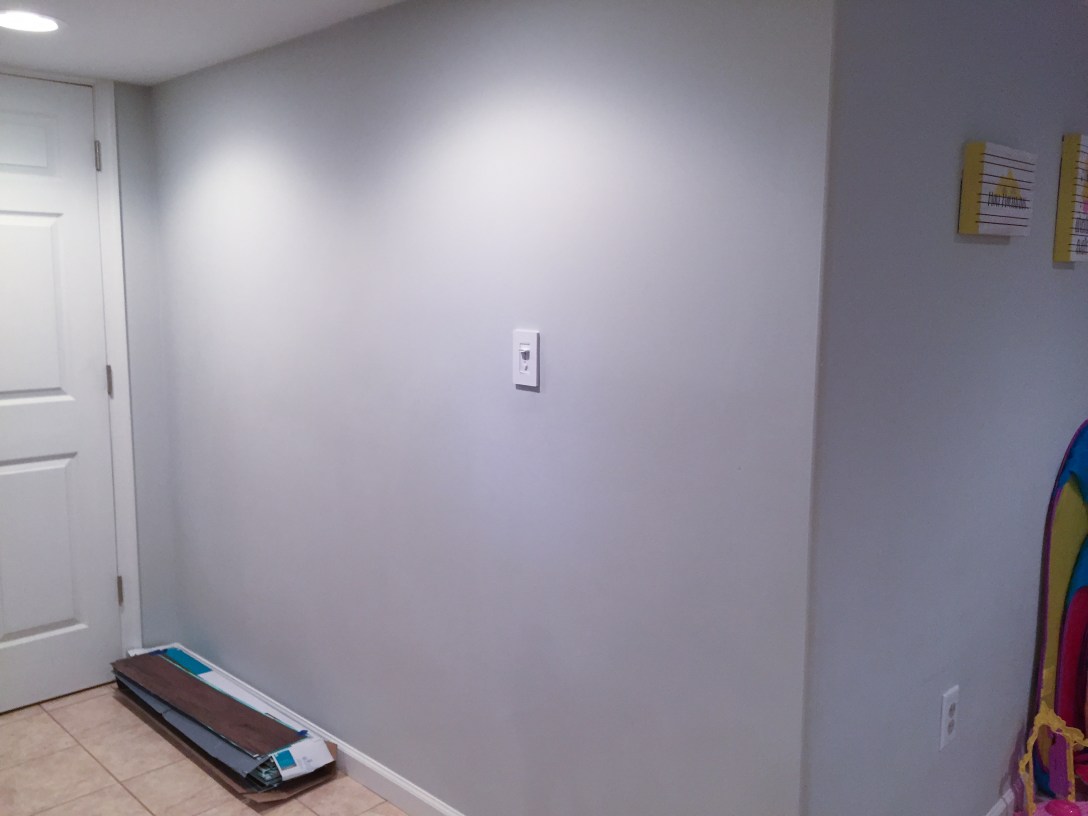
It started as a typical blank wall. Nothing special. A blank canvas. Sure it would look better with some pictures hanging, but we wanted to add some more visual interest.
So we bought some self-stick wood-look vinyl flooring to put up on the wall. We first tried attaching it with just the adhesive on the back of the flooring pieces. Only to come downstairs the next day to see it on the floor.
Time to up the stickiness with some liquid nails on the back of each piece. This seemed to work just fine.
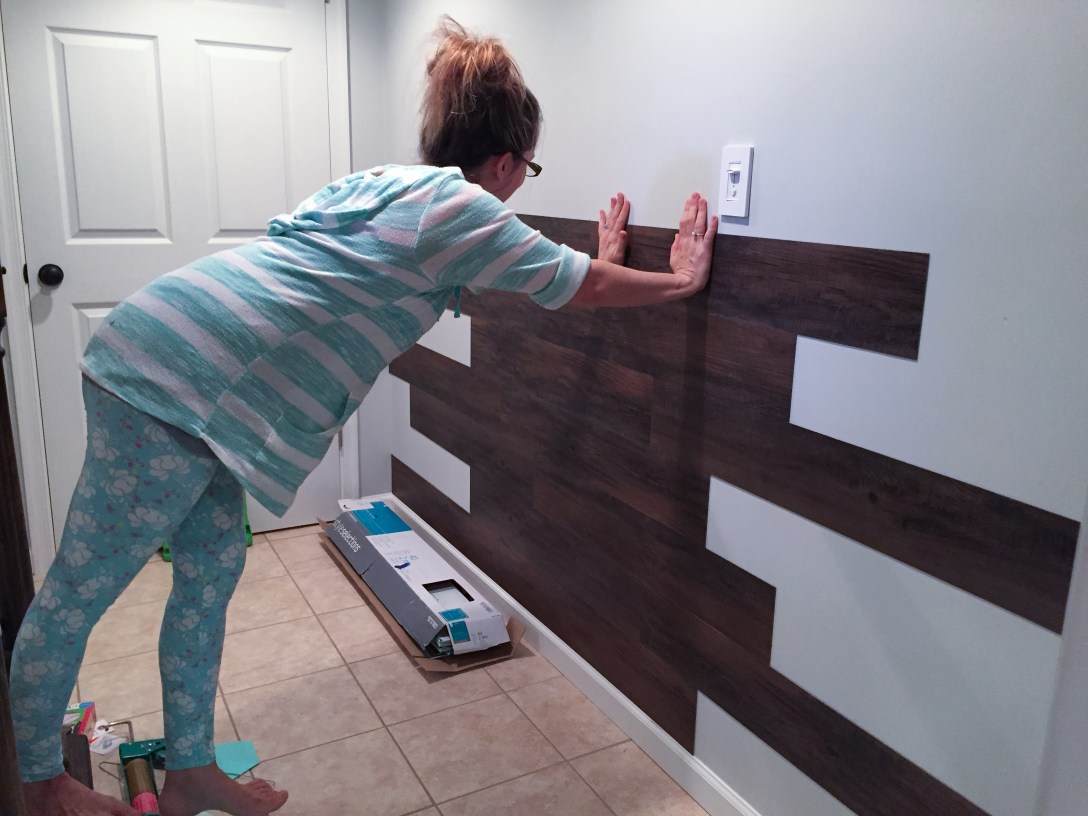
If we had to do it again, I would do each row completely before moving up the wall. We thought this would be ok, and help to move the progress along since we didn’t have to switch between cutting and not cutting pieces.
The problem came when a couple boards weren’t 100% straight. So to get some of them to fit I had to try cutting tiny slivers on an angle. The results were less than perfect.
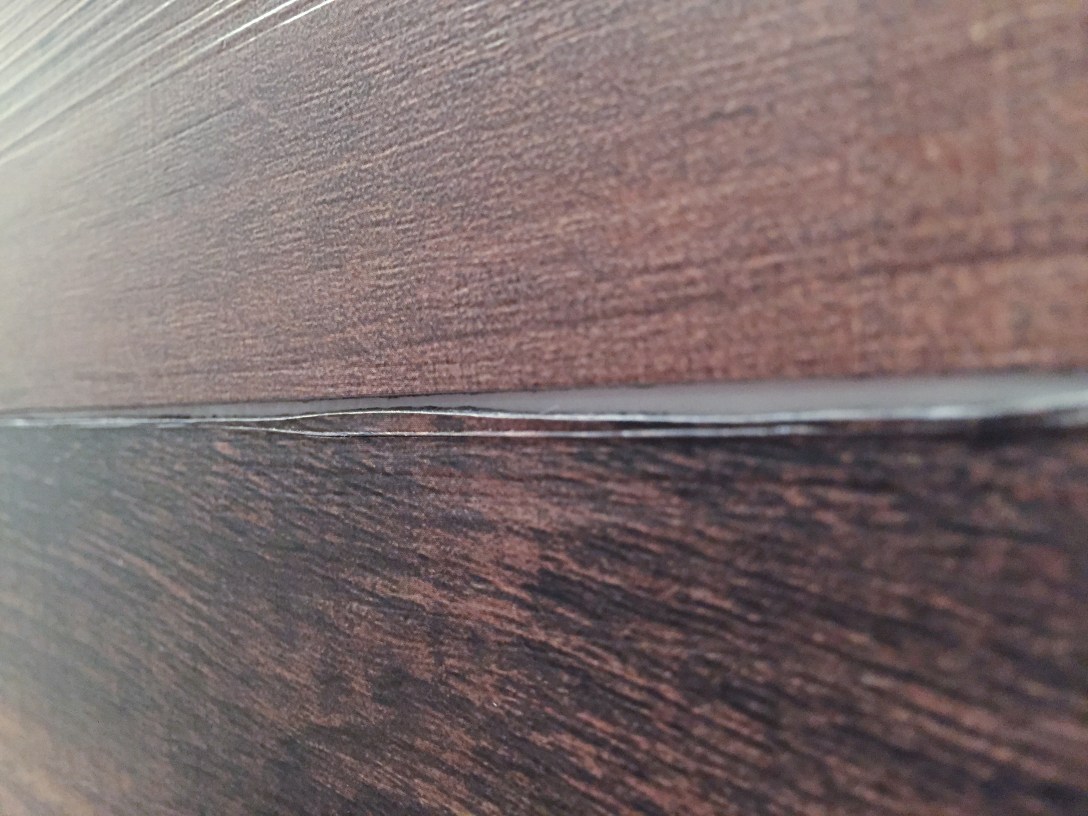
But overall it went smoothly. Easy and quick. These vinyl flooring pieces are super easy to cut to length. Just score with a sharp razor and snap.
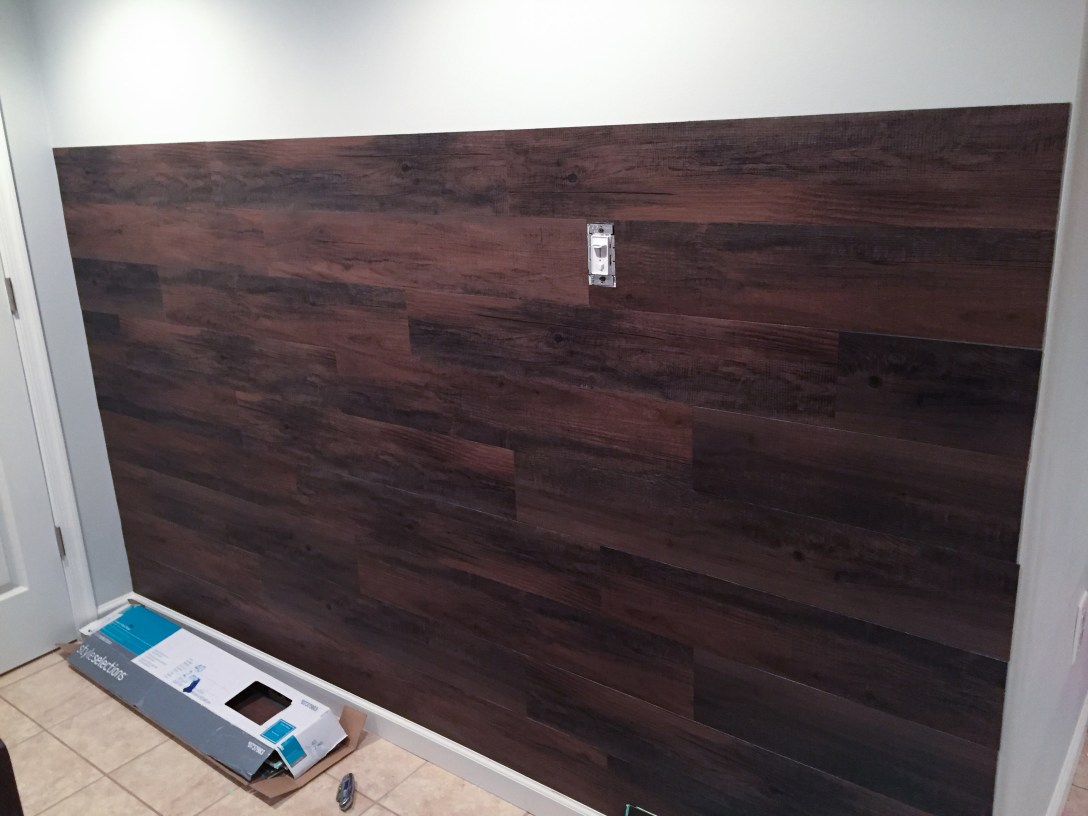
At this point we were really liking the progress. Initially we were going to go all the way up the wall, but at the last minute decided to stop short and put a picture shelf on top to cap it off.
The shelf
I’m far from an expert woodworker. I’m not even an amateur woodworker. This shelf was the first thing I’ve ever built outside of shop class in 8th grade. So if you don’t think you can do it because you don’t have experience, you absolutely can.
Materials Needed
- (1) 1×4
- (1) 1×2
- (1) 1×3
- 2″ wood screws
- 16 gauge brad nails
- paint
- sand paper (medium-to-fine grit)
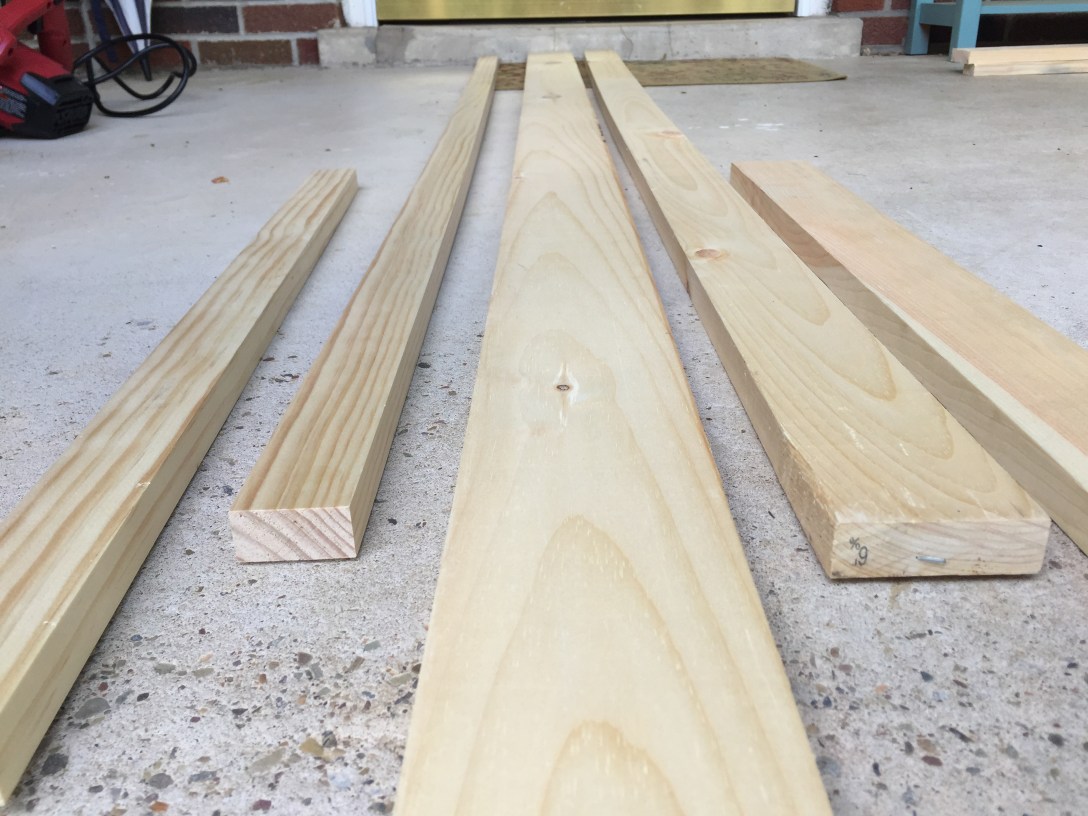
The first thing to do was to gather the materials. Unfortunately our wall is 8-ft 4-in wide, and the 1x2s and 1x3s didn’t come in lengths more than 8-ft. So I decided to get two of each at a 6-ft length so I could join them somewhere in the middle.
Once I had the wood it was time to measure and cut. Remember: measure twice, cut once.
For this shelf, the 1×4 board will be the shelf that everything sits on. The 1×3 will be the back piece that I can screw into the wall, and the 1×2 piece will be a small front piece to keep pictures from sliding off.
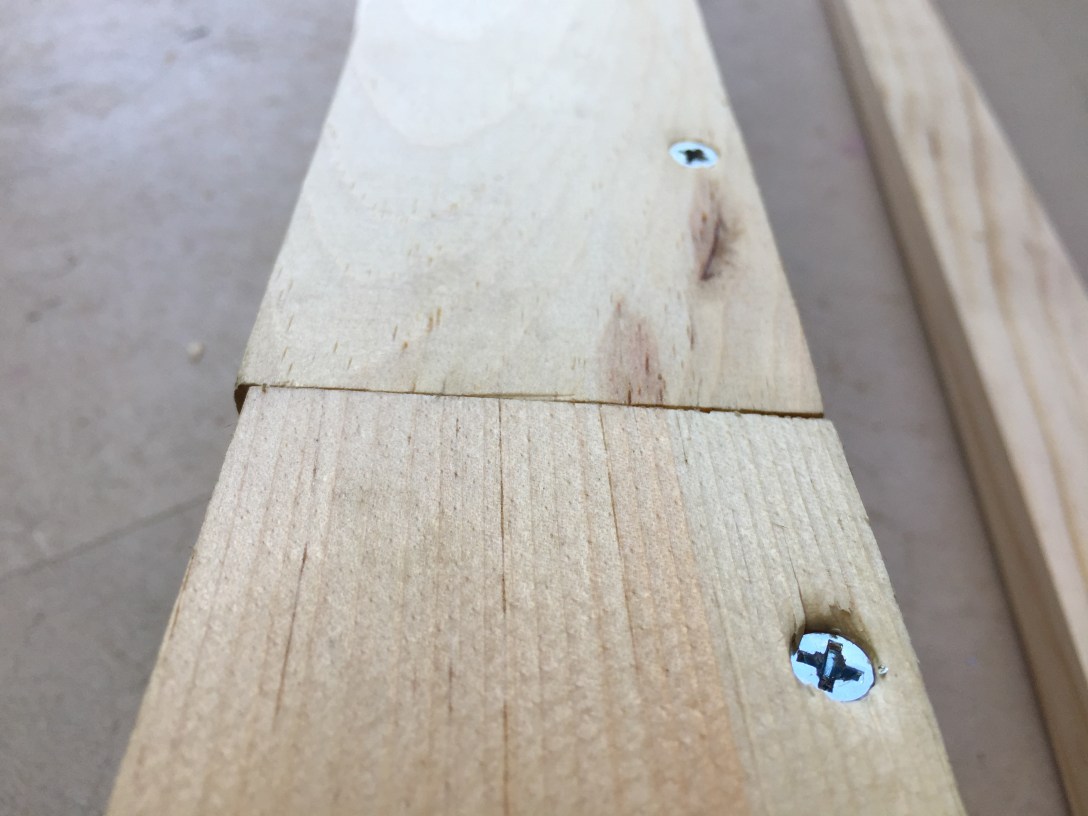
Next, I took the 1×3 boards and screwed them into the back side of the 1×4. Make sure to drill pilot holes so you don’t split the wood. You also want to make sure the screws are sunken into the wood a bit. Otherwise it won’t sit flush with the wall.
Here you can see the seam between the two 1×3 boards that I had to get in shorter lengths.
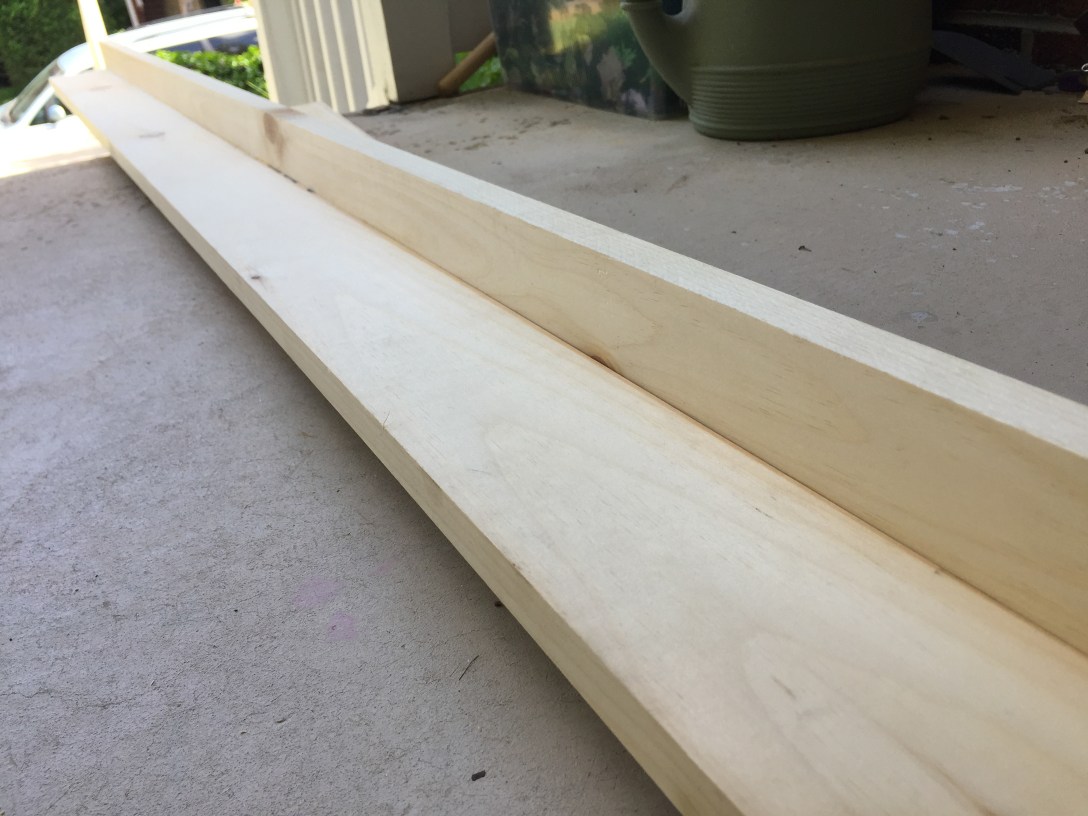
I wanted the front of the shelf to be as clean as possible. Using nails makes it easier to conceal the holes. I also don’t have to worry about it needing to be super strong like the back piece that holds all the weight.
Again, drill pilot holes to avoid splitting the wood. I actually broke one of my drill bits off into the wood because it was such a small gauge. Lesson learned: don’t get sloppy, make sure the drill bit is secure and straight, and go in as straight as possible without using too much force.

The finished shelf! Notice the buckets at the end. The kids wanted to test it out.
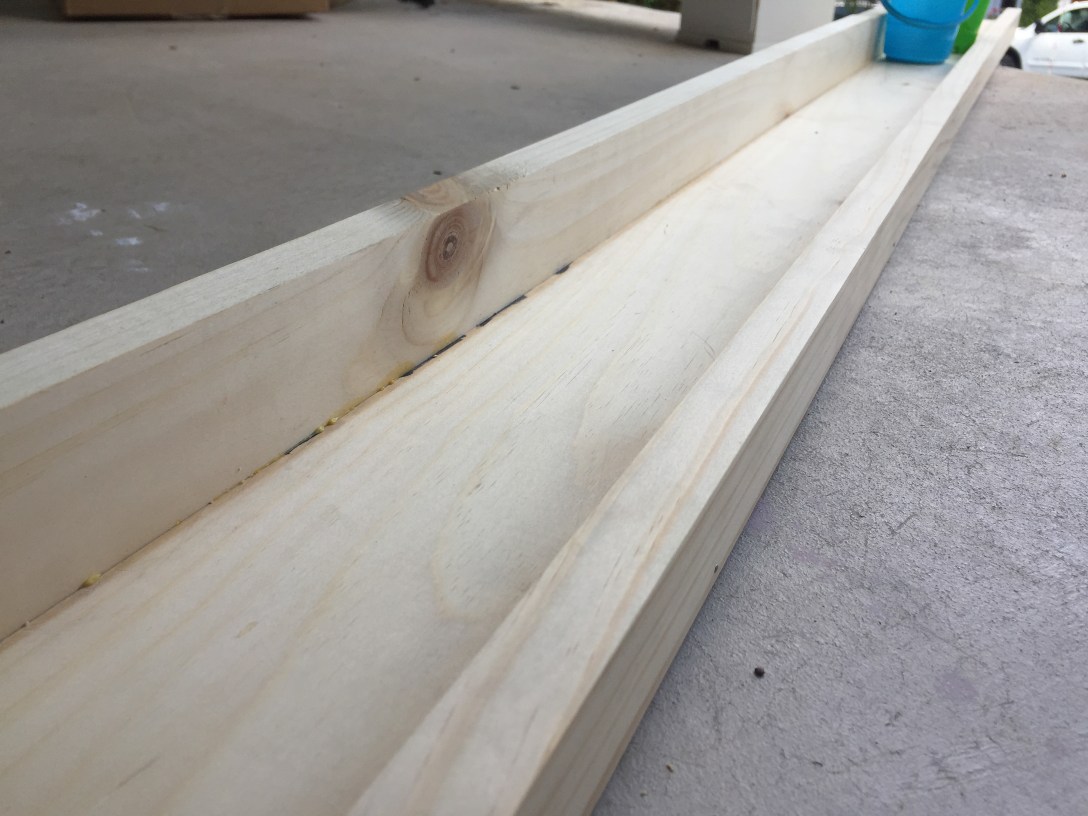
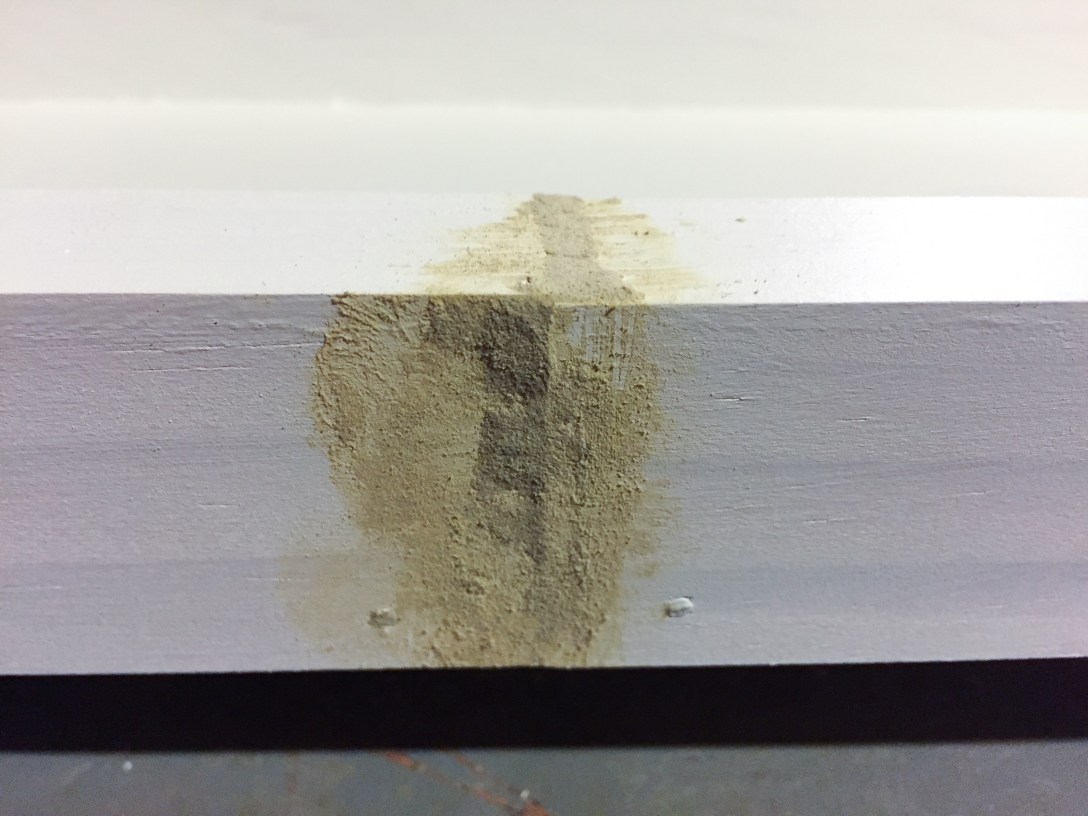
Since I had seams where the shorter lengths of wood came together, some simple wood filler did the trick. Make sure it’s completely dry before trying to sand it down to avoid redoing it. Don’t ask me how I know that.
Using a stud finder, find the studs in the wall. Then mark where the studs are on your shelf. This will be your guide for drilling pilot holes into the back of the shelf.
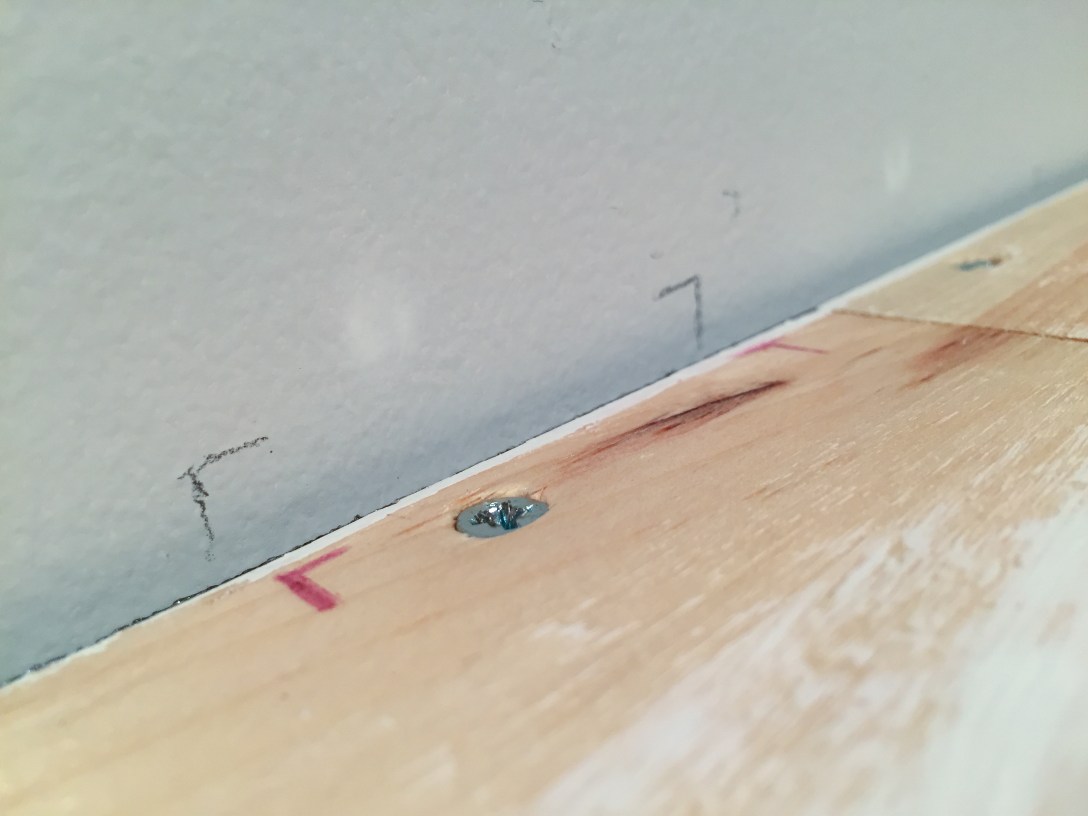
All that’s left to do is paint the shelf, make it level, and use your wood screws to attach it to the wall.
The finished project

Ultimately, it took longer than expected simply because we did it in stages. With kids, sometimes you need to play it by ear. Spend an hour here, an hour there, whenever you can.
We really love how it turned out. It was a relatively easy and inexpensive way to spruce up that boring, gray, empty wall. And a nice way to add a gallery of family photos.
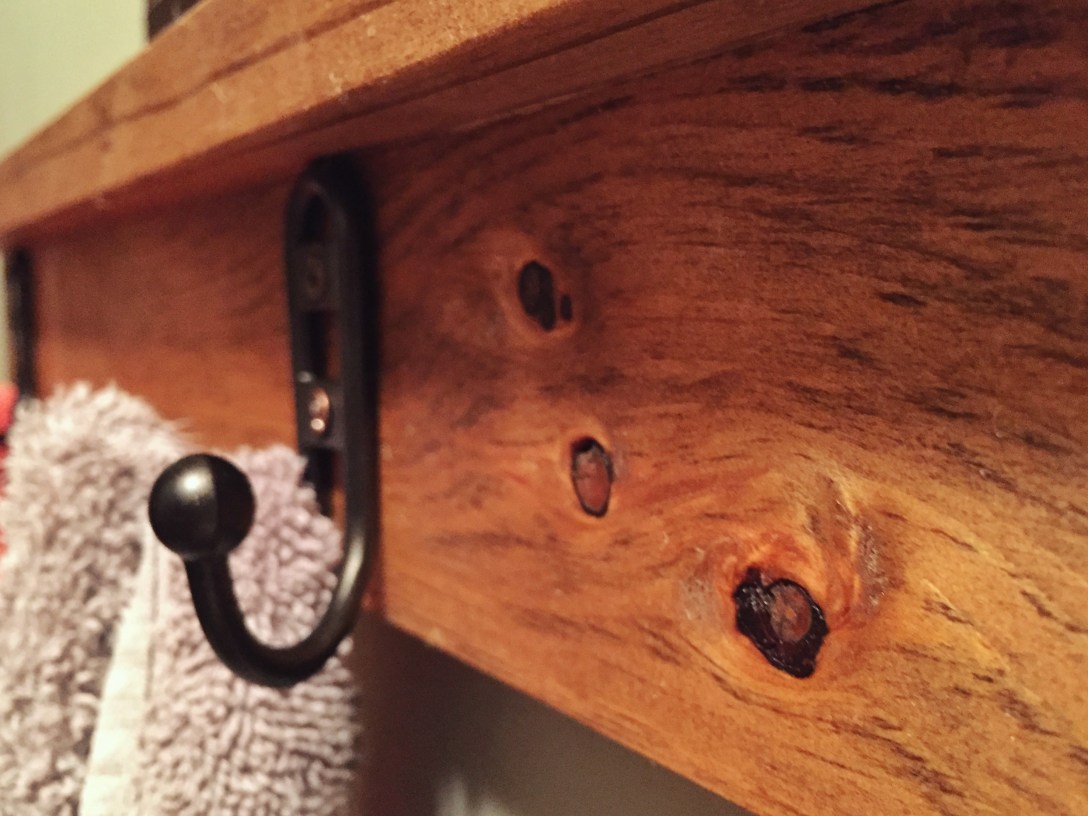
I even had enough wood left over to update our old, broken towel rack in the bathroom.


You sound like an experienced wood worker to me! Beautiful job! For what it is worth, I would get a more subdued light switch cover – like bronze. The white cover looks so stark against the dark wood.
LikeLiked by 1 person
I see your blog needs some unique & fresh content. Writing manually is time consuming, but there is solution for this hard task.
Just search for – Miftolo’s tools rewriter
LikeLiked by 1 person
I love that the vinyl fell off after the first night – that sort of thing happens to us! Great post and the work is great.
LikeLiked by 1 person